Today, 7 February 2021, sees the start of the Roman festival of Fornacalia, namesake of this website. Curio maximus Farrell Monaco (or should that be Curia maxima?) decreed it so, as is her right. She suggested we bake Bread for the Gods: Mola Salsa; I am not ready for that and so, once again, I baked a very un-Roman bread. I’m sure the Romans knew of rye, but I don’t think they baked with it. Caraway they knew, sunflower seeds absolutely not. Anyway …

This is now the third time I have baked David Kaminer’s 100% rye sourdough. The recipe seems complicated at first glance, but it really isn’t, and I am sharing it here (finally) only because I have successfully reduced the quantities to make two good-sized loaves (about 2.1 kg of dough) and need to have a reference for myself. It takes a while, but very little of that requires any activity. Ideally, if you start to build the leaven on the morning of day one, you will have bread to eat on the morning of day three.

Slices of rye bread with sunflower seeds

It goes roughly like this:

  • Day one, morning, first build of leaven

  • Day one, late afternoon, second build of leaven

  • Day one, late afternoon, make soaker

  • Day two, morning, mix final dough

  • Day two, 3–4 hours later, bake

  • Day two, allow to cool completely and “settle”

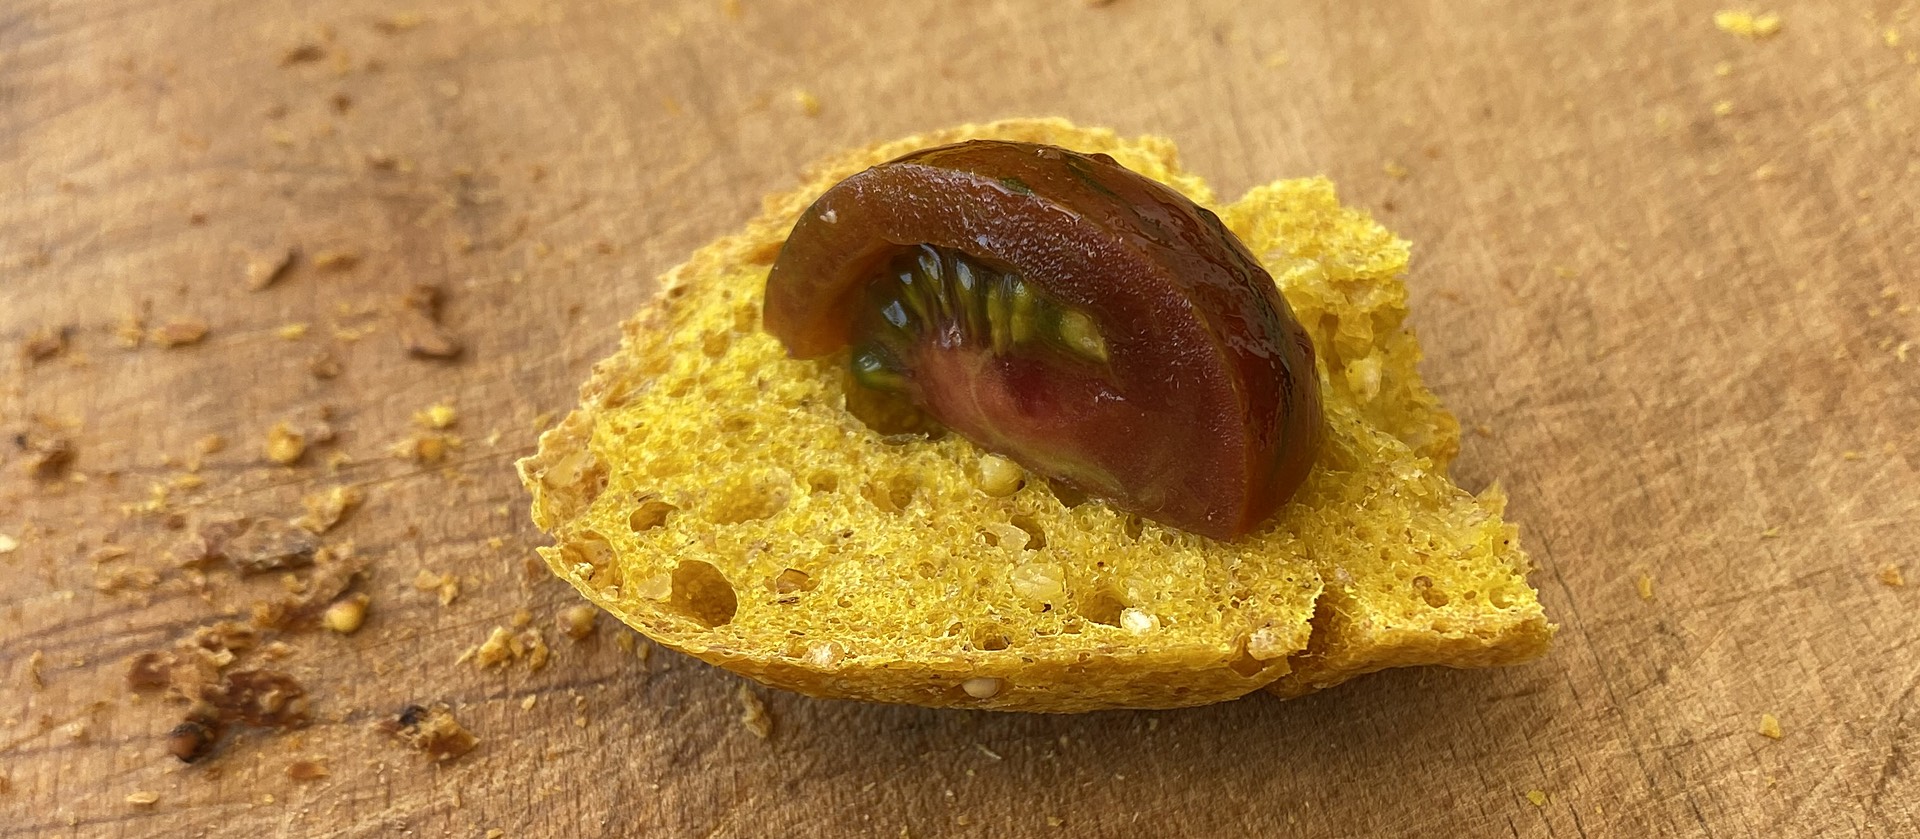
  • Day three, you may now eat your bread

Leaven

  • 675 gm at 100% hydration

I build the leaven in two stages. It really does not matter what kind of starter you start with. I generally use my 75% hydration wholemeal starter, but given that it makes up only about 2% of the leaven, it makes no difference.

  • 15 gm starter
  • 30 gm whole rye flour
  • 30 gm water

Mix up the first build of the leaven and leave to double or more in volume. Mine usually takes about 6 hours to do so.

  • 75 gm leaven
  • 300 gm whole rye flour
  • 300 gm water

About 4–5 hours before bed time, build the leaven again. It wants some time at room temperature before you put it into the fridge to continue fermenting overnight.

Soaker

  • 140 gm whole rye flour
  • 140 gm toasted sunflower seeds
  • 9 gm caraway seeds
  • 20 gm salt
  • 145 gm water
  • 70 gm old bread

I usually make the soaker immediately after the second build of the leaven and, as per David Kaminer’s tip, I make it in the final mixing bowl, because cleaning.

The only tricky part is the old bread. If this is your first time, you might not have any. That doesn’t matter, just leave it out, but try to save 3 or 4 slices from this bake for the next time you want to make this recipe, which you will. It adds a lot of depth. David is suitably vague about the amount of old bread, but I have found that 70 gm of dry bread is good for me. At the very start of the process I put it into a jug of water to absorb all the water it can.

Toast the sunflower seeds, either in a big skillet or under a grill, until you get a good whiff of that nutty aroma. Mix with the flour and salt. Add the old bread, squeezed, but not too much, and broken up as best as you can. Then add the water and stir everything to combine well. Cover and leave to stand overnight.

Final dough

Mis en place for final dough mixing

  • 675 gm leaven
  • 525 gm soaker (approx.)
  • 450 gm whole rye flour
  • 470 gm hot water (40°C)
  • Loaf tins

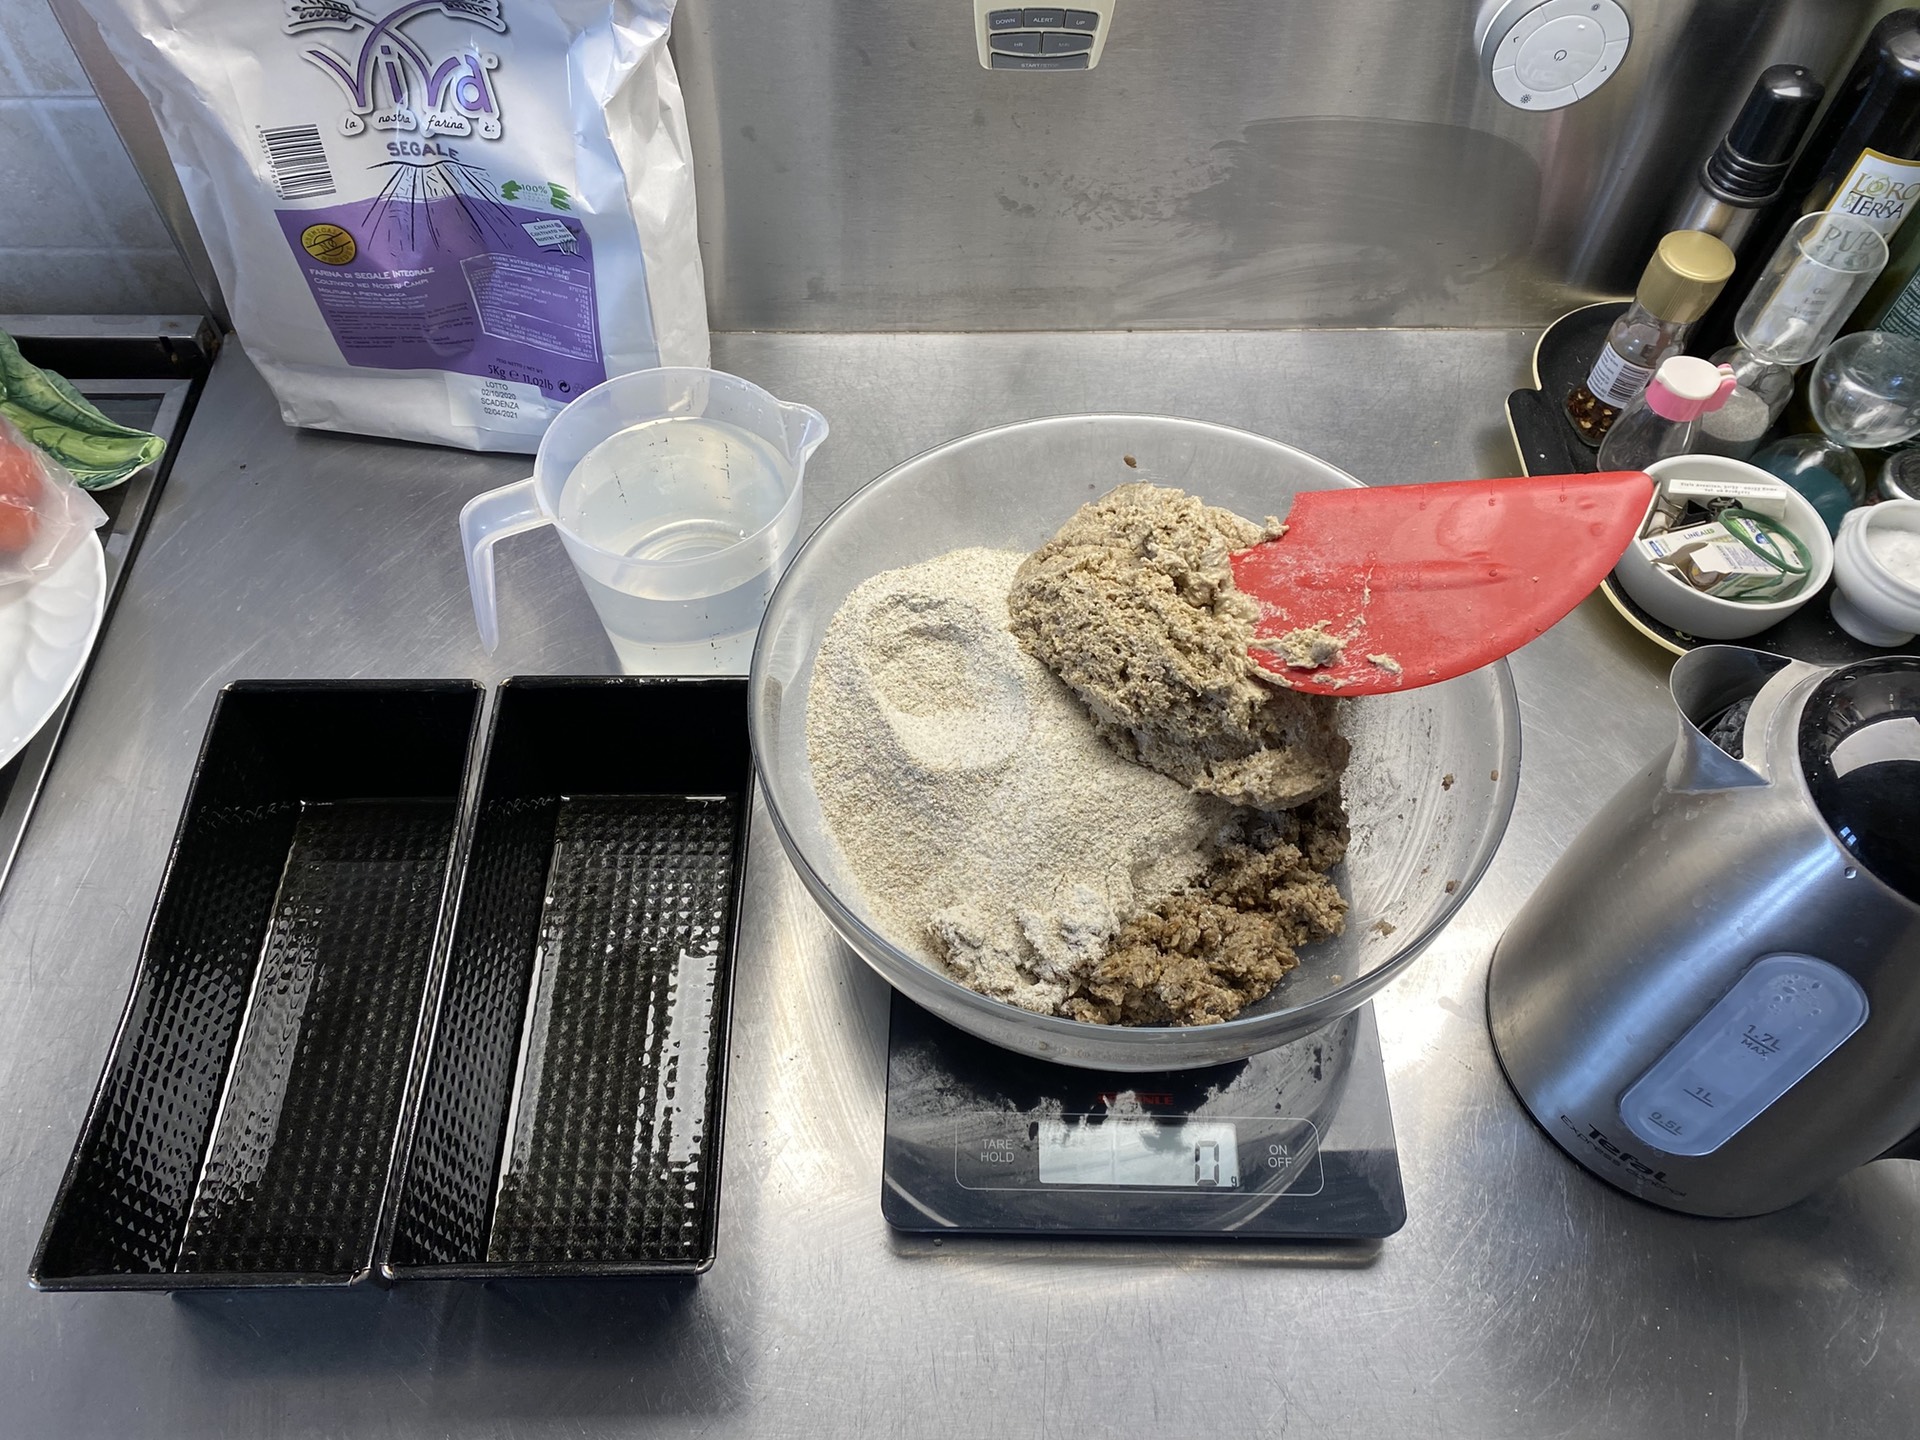
Before you begin, prepare your loaf tins. Mine are quite small in cross-section, and I keep meaning to invest in some larger ones, but thanks to Brexit I can’t get the ones I should have got last year. No matter. Although the tins are supposedly non-stick, a decent coating of oil helps a lot.

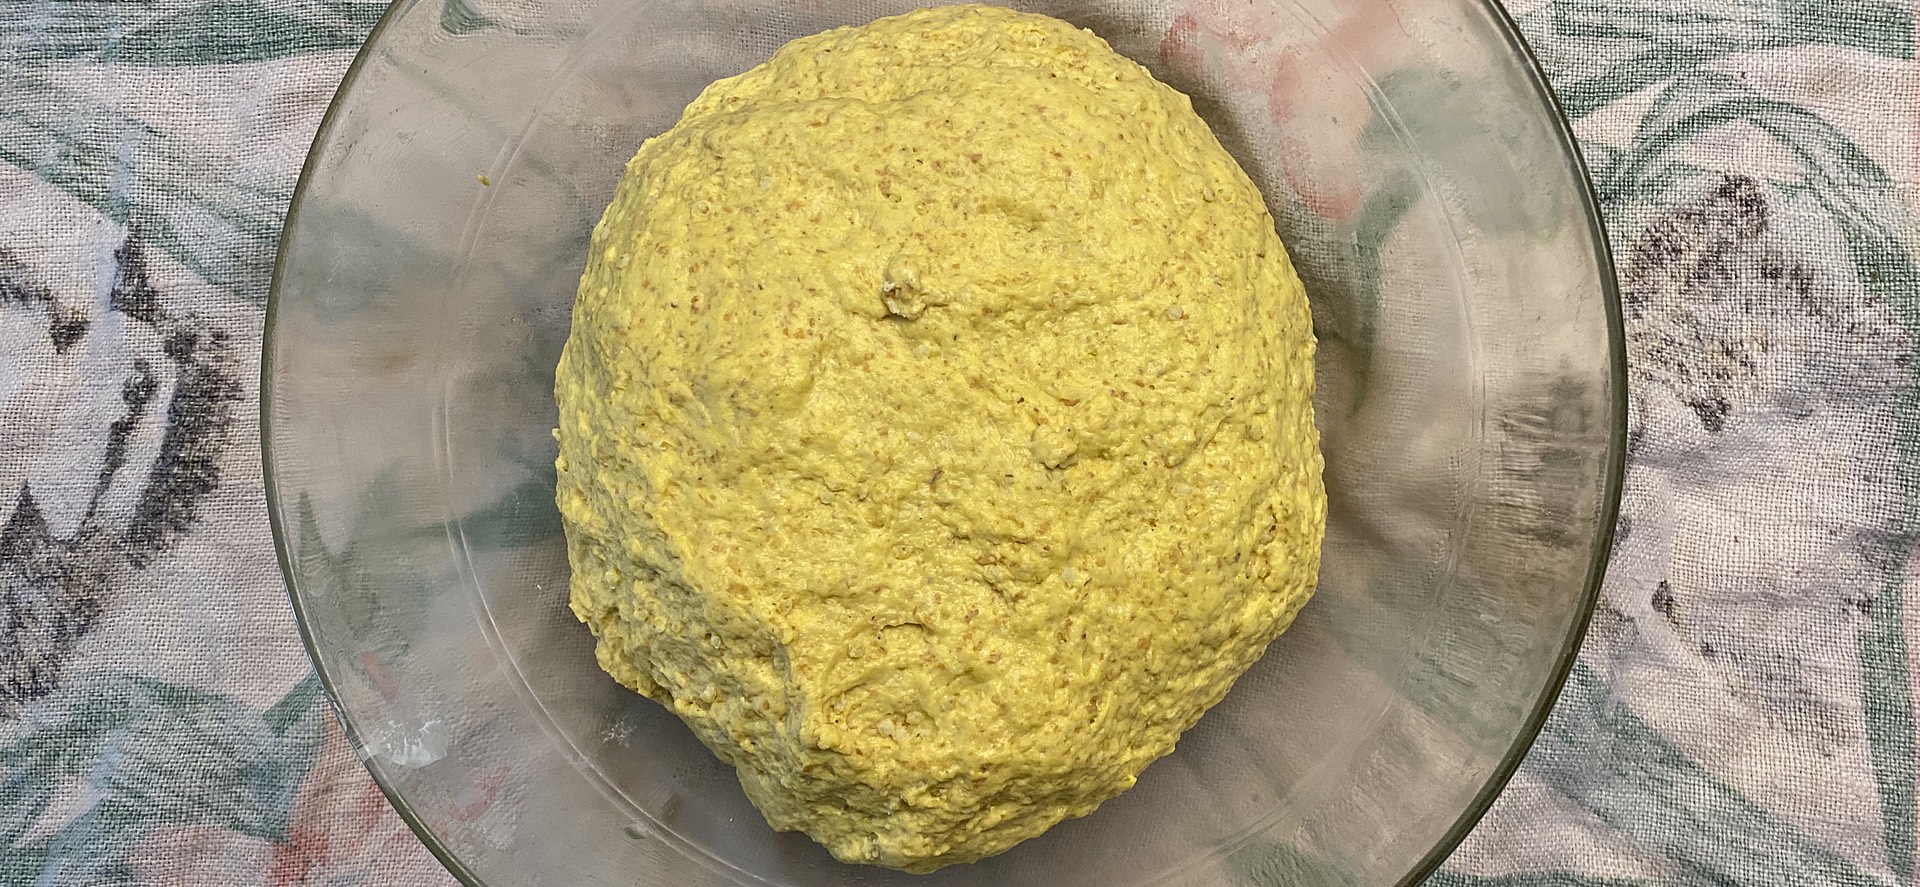
Remove the leaven from the fridge and add it to the soaker in the bowl. Add the rye flour and the hot water. (I have a kettle that tells me the temperature of the water, so I set it to boil and remove it when it hits the mark.) Measure the water and pour it into the bowl. Now things get sensuous.

Keeping one hand clean and a scraper handy, squidge the dough through the fingers of your other hand. The video here shows exactly what I mean. You cannot knead this dough, but you do need to ensure that it is very well mixed. It feels somewhat strange at first because the water is hot and the leaven is cold and you move from one to other in unexpected ways. Soon, though, the whole thing is of an even consistency and temperature.

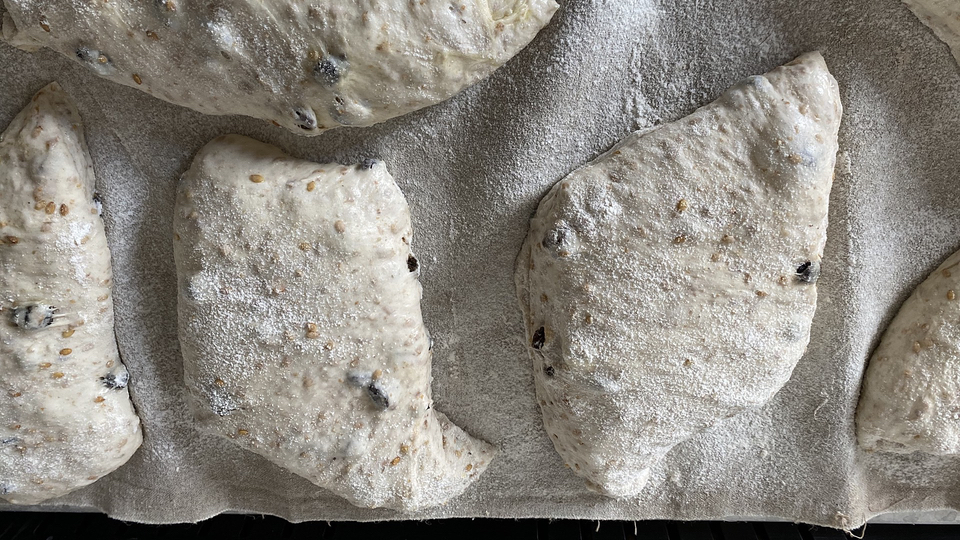
Scrape your hand clean and then persuade the dough into the tins. I like to use a scale to ensure that the tins contain the same amount of dough. With wet fingers, pat the dough down to level it in the tin. Now sift a little rye flour over the top of the dough, aiming for a light and even covering.

Put the tins somewhere warm to rise. They are ready when you can see nice cracks opened up in the rye flour, but in truth in my tins the dough only rises about 1 cm, if that.

Preheat the oven as hot as it will go, starting roughly when you notice the first small cracks in the rye flour. The loaves will be ready to bake 45 minutes or so later.

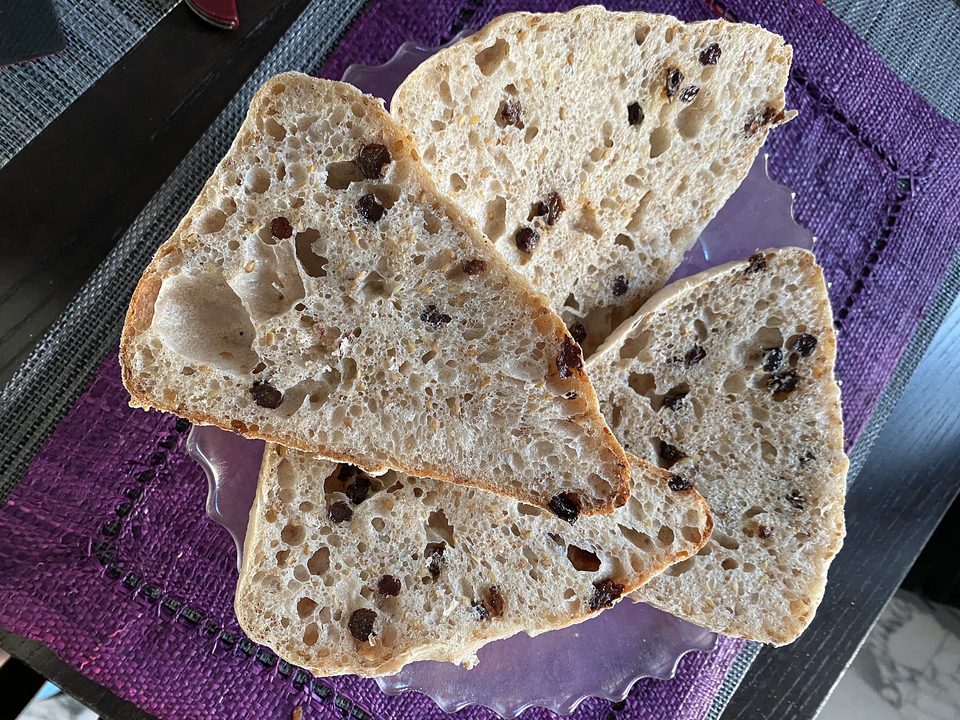
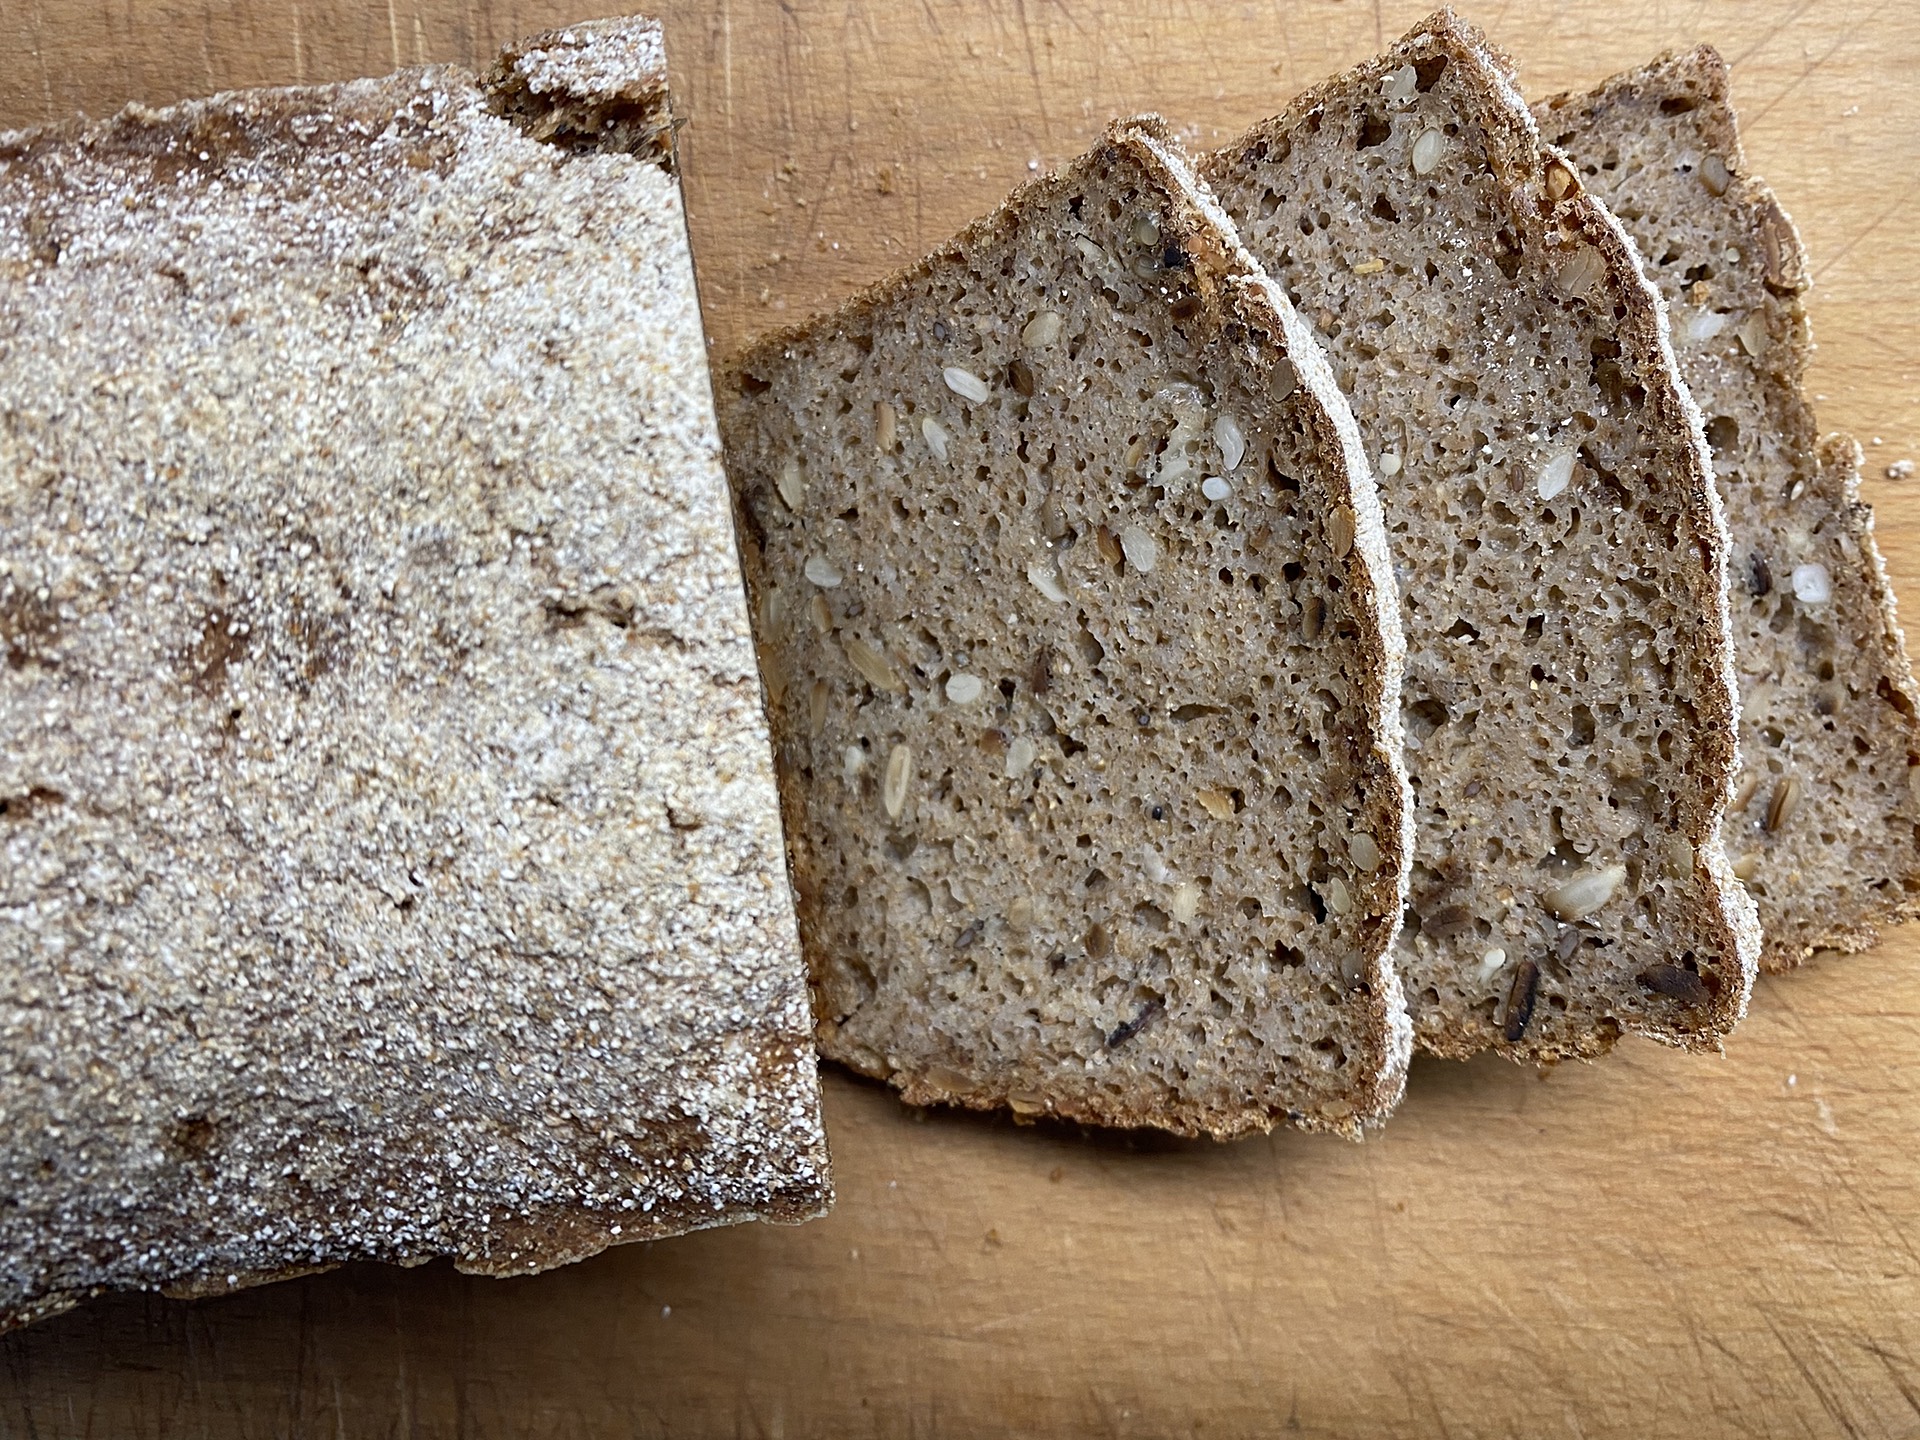
Bake at about 245°C for 20 minutes, then lower the temperature to about 205°C for another 60–70 minutes. Remove the tins from the oven and allow to cool for about five minutes before extracting the loaves and then allowing them to cool on a rack for at least 18 hours. Most bread, and especially rye bread, is a lot tastier after it has been allowed to cool properly, and rye needs a good long while to become soft and moist rather than gummy.

At some point before you finish the loaf, cut three or four slices and allow them to dry before putting them somewhere safe, so that next time you can add the old bread as you should.

A couple of summers ago, we arrived on Ischia in that dead time, too late for lunch, too early for an aperitivo, and famished. The tavola calda just down the road didn’t have much left, but we took some of what there was and then I noticed on the counter a jar of large circular things, with almonds. Presuming them to be some kind of ciambelle, I confidently ordered two of them as a nod towards dessert.

Continue reading

Many of the online food events that have sprung up during the pandemic take place at times that are not ideal for me. An honourable exception is the classes from the Colorado Grain Chain, which generally take place on a Wednesday morning, Mountain Time, an excellent early evening for me. In addition to Julie Zavage’s introduction to the role of rye in a mixed farm. the most recent class featured David Kaminer’s Rye Bread. It was, literally, an inspiration.

Continue reading

Little loaves sliced to show open crumb structure.

My recipe folder is extremely messy. Scraps of paper of all different sizes, some scribbled, some printed, some ripped from newspapers. Truth is, I don’t go to it that often, but when I do it takes far too long to find things than it ought. The upside of that is that sometimes I unearth interesting things that I am not looking for. So it was a couple of weeks ago, when I surfaced a bread recipe from 2007 that I had apparently printed off in 2011. (So glad to be able to report, it is still there: Rustic Flax Seed-Currant Bread – Wild Yeast). For some reason, last week it called out to me.

The finished product is a lot like a ciabatta, and it uses the same double hydration technique to get there. First, you hold back some of the water and knead the dough to a reasonable state of gluten development, about nine minutes in my case. Then you add the remaining water and patiently work to get it all incorporated into the dough. It’s a very handy technique for any highly hydrated dough.

So, here’s my version of Susan’s Rustic Flax Seed-Currant Bread.

Ingredients

420 gm ripe starter at 100%.

105 gm golden flax seeds
155 gm water

All of the starter
600 gm water
21 gm salt
4 gm instant yeast
730 gm white bread flour
85 gm wholewheat flour
45 gm whole rye flour
All of the flax seeds and their gel
130 gm dried currants

Method

Susan uses yeast in both the starter (a poolish) and the final dough. I wanted to use a leaven so built up my 100% starter with Manitoba flour. I was a bit constrained for time, so I did use yeast for the final dough. When I do this again, which I will, I may try sourdough starter all the way.

Soak the flax seeds at least two hours before you plan to start.

Put the starter in a bowl with 480 gm of the water, all of the flours, the yeast and the salt. Susan used a stand mixer at low speed for 10 minutes. I should be so lucky. I kneaded, hard, for a little more than 9 minutes. Maybe could have done with five minutes more.

The dough then goes back into the bowl and is worked with the remaining 120 gm water, a little at a time, to get all the water into the dough, which will feel very soft and stretchy. This part needs only patience and confidence. It will come together. Once all the water has been absorbed, add the currants and the flax seeds, along with their soaking gel. Mix again, in the bowl, stretching and folding until the additions are evenly distributed through the dough.

Bulk ferment for about 1½ hours, then turn the dough out onto a well-floured counter and do one or two sets of letter folds. Return the dough to the bowl and bulk ferment for another hour.

Dough stretched out on the counter

Again, turn the dough out onto a well-floured counter and stretch it gently into a rectangle about 2 cm tall, trying not to degas it too much. With a dough scraper, cut the dough into manageable pieces, transferring each one to a floured couche, without flipping them over. Gently does it. Cover the whole couche with a damp cloth or plastic, supported so as not to weigh on the little loaves.

Proof for about an hour, during which time the loaves will puff up and bubble.

Loaves after proofing, sprinkled with a little flour

In good time, preheat the oven to 230°C and prepare to steam. A baking stone is a good idea.

When the loaves have risen, prepare a piece of baking parchment the size of your stone, if you have one, or line a baking tray. Lightly sprinkle the loaves with flour and flip them onto the parchment, so the heavily floured side is now uppermost. No need to score.

Slide the parchment onto the stone and bake for 8 minutes with steam. Remove the steam tray and bake another 27 minutes without steam. Crack the oven door open for the final 5 minutes. Susan says to turn the oven off and leave the loaves in, with the door still ajar, for a further five minutes, but I had a second batch to bake so didn’t bother. They seemed fine.

Baked loaves on parchment coming out of the oven

Rest the golden loaves on a wire rack and try to wait until they are properly cool before ripping one open to eat. The sweetish currants make a great foil for the crunch of the flax seeds and the wheatiness of the crumb. A definite winner.

Somewhere, vaguely, I had become aware of a quiet rumbling about turmeric in bread. I don’t think I read any specific recipes, but they were definitely on my radar. Then I found myself with some leftover cooked wholegrain millet on my hands, not enough for a helping for both of us, but too much to toss. Just right, I thought, to add to a bread.

Thoughts wandered, as thoughts do, to millet as a good Indian grain, and from there to turmeric, a good Indian spice, and suddenly, here we were.

Dark tomato on a slice of golden turmeric bread

Ingredients

200 g white starter at 100%
330 g water
80 g cooked millet
10 g salt
2 level teasoons (10 ml) turmeric powder
130 g wholemeal flour
325 g Manitoba flour

Method

Build your starter according to your preference.

Combine starter, water, millet, turmeric and salt and stir gently to break up the starter a bit.

Add remaining flours and work for about three minutes to get everything incorporated into a good ball of dough. The colour is already quite startling. Cover and leave to bulk ferment.

Bright yellow turmeric dough

Stretch and fold every 60 minutes for about 3 hours and then leave until roughly doubled in volume.

Turn out and shape. I made two loaves of about 550g each but you could as easily do one large boule.

Allow to rise for about an hour at room temperature.

Bake at 230°C (450°F) with steam for 24 minutes. Remove steam, if using a pan as I do, lower heat to about 215°C (420°F) and bake a further 22–25 minutes.

Cool on a rack.

The colour is, in my view, drop dead gorgeous. But there is also the unmistakeable slightly earthy aroma of turmeric and also the faintly bitter flavour note in the dough.

Loaf and slices of turmeric bread

Definitely worthwhile. And now I’m seeing turmeric tarallini and turmeric and pepper grissini in the supermarket, so this is definitely a thing.

I’m wondering, are there any turmeric breads I should investigate more fully?