I have not made pizza since moving to Rome a long time ago. Well, why would I? With all the pizza places shut, however, there’s only one way to get a pizza. Make it.

In this I was inspired largely by my friend Dan’s family-friendly pizza, adapted to my own preferences. The first of those is to use one of my standard leavens. I chose the wholemeal one, because it offers an easy way to have one-third of the flour be wholemeal.

Friday evening, 10:00 pm, I fed the starter with 75 g wholemeal and 100 g water.

I reckoned I would need 600g of dough for my tray, which is about 28 x 40 cm, at 70% hydration. So:

  • 355 g flour
  • 245 g water
  • 7g salt, and
  • 20 g olive oil.

Dan uses one third each of strong flour, all-purpose flour and light spelt. My wholemeal is pretty strong, so I went for 100 g each of wholemeal (in the leaven) and strong flour and 155 g of all purpose.

Saturday morning, 11:45 am, I removed some starter for next time and mixed the leaven up with the remaining water (170 g) and 100 g of all purpose flour to make a sponge, which I covered with a plate and left on the counter to do its thing for about 4 hours.

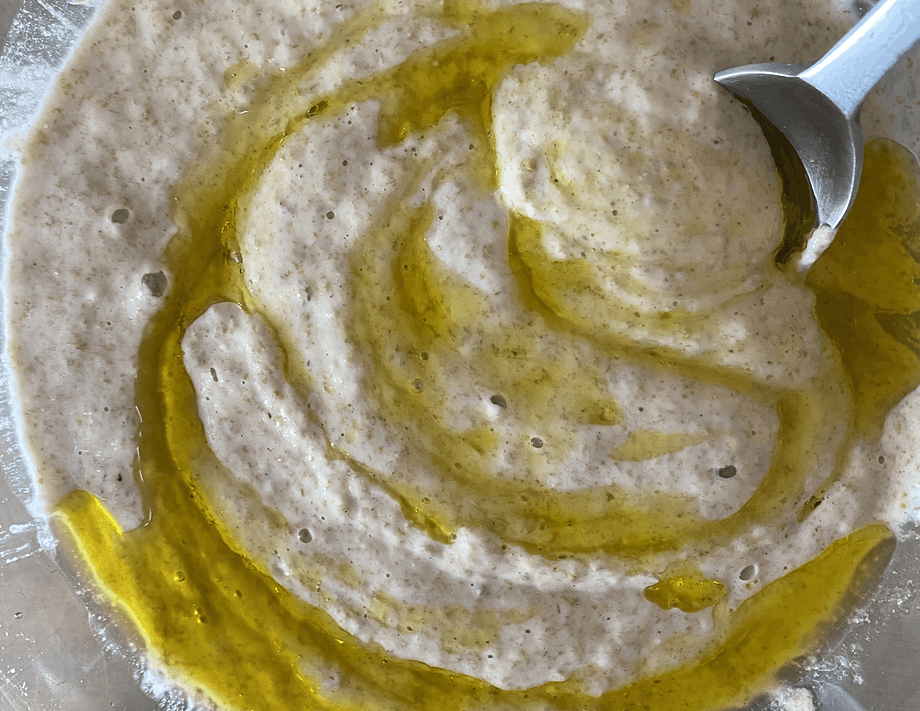
Saturday afternoon, 3:30 pm, with the sponge bubbling a bit, I poured about 20 g of olive oil on top and mixed it in with a spoon.

Pizza dough leaven with swirl of olive oil

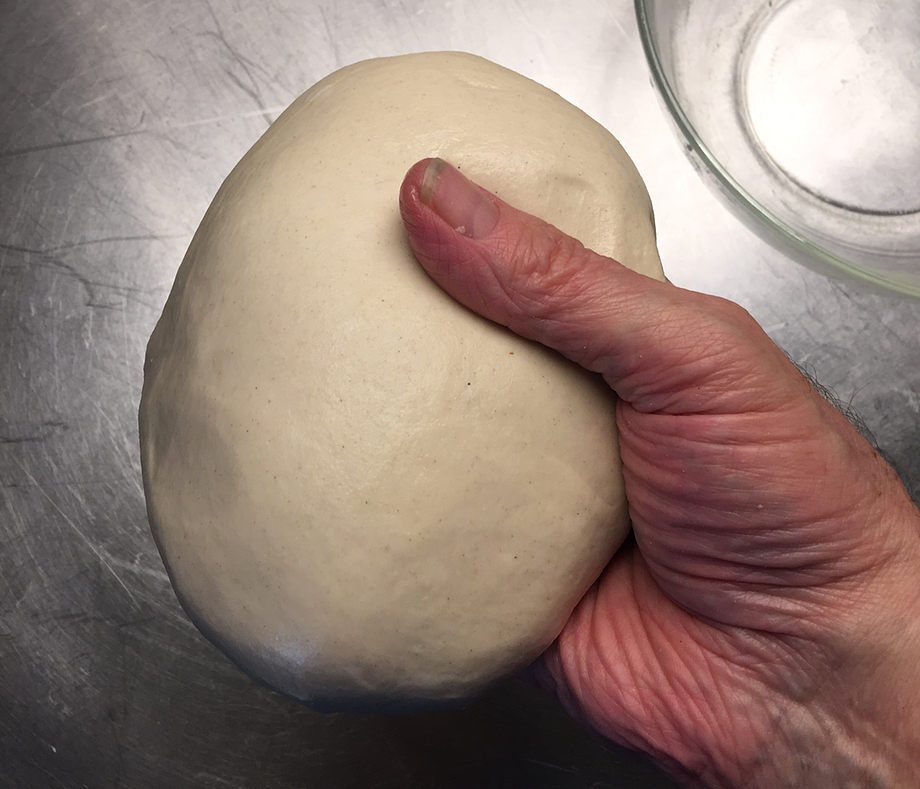
Add the rest of the flours and the salt and stir roughly about until you can tip it out onto the counter. I shove it around with the heel of my palm to bring it all together then scoop it up with a scraper and dump it back in the bowl.

At 10 minute intervals, I tip the dough out onto the counter, give it five or six quick kneads and return it to the bowl. Do that three times, after 10, 20 and 30 minutes. Then leave the dough to bulk ferment. I like to do some stretch and folds each hour thereafter, with coil folds to finish the second and third sets.

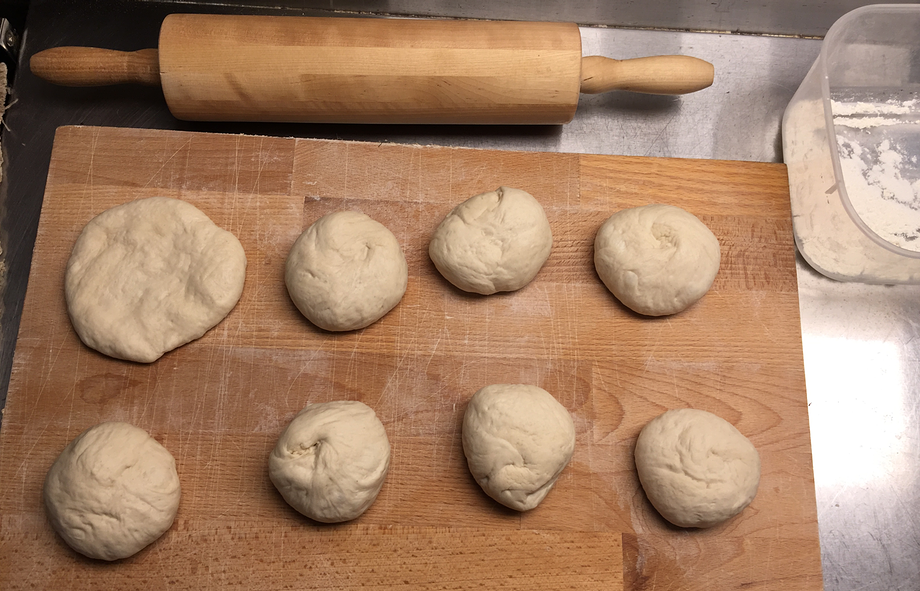
Saturday evening, 7:15 pm, and it’s almost time to eat, so I fire up the oven to max. I think it reaches 240°C. Who knows? Dan rolls his dough, but he knows what he’s doing. I prefer to stretch by hand, tackling it over three or four sessions to allow the dough to relax a bit between each stretch. Manual stretch also allows me to make the crusts a little bit thicker.

After the first stretch, I start the sauce. Half an onion and a clove of garlic, thinly sliced, sprinkled with a pinch of salt and sweated gently in a little olive oil for about 5 minutes. Then I add a good grinding of hot pepper flakes, a can of peeled tomato bits and a good teaspoon of dried oregano. Bring to the boil and then turn the heat down low.

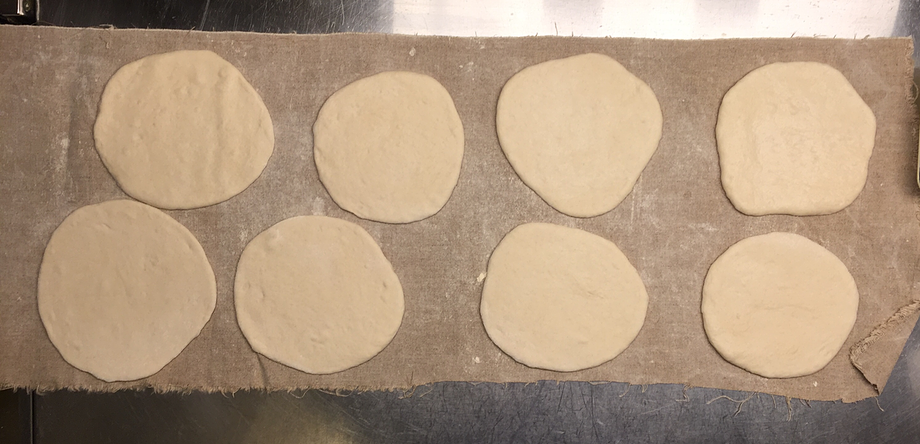
Time to stretch the dough out again.

While it is relaxing again, and the sauce is simmering, I slice the fresh tomatoes and the mozzarella. Then a final stretch of the dough, this time into the pan. It has a slight lip, which is great because if necessary you can flip a bit of the dough over the edge to stop it stretching back.

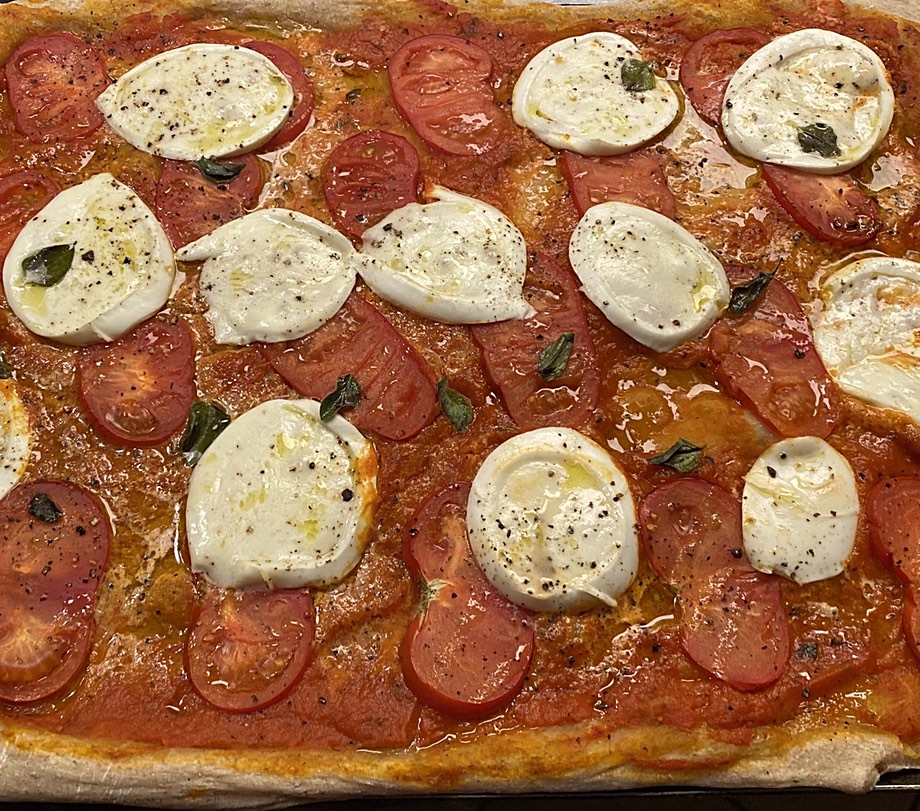
The sauce comes off the heat and gets whizzed with an immersion blender. By now the oven has been preheating for about 40 minutes and is plenty hot enough. So I construct the pizza, trying to spread the sauce evenly but not too deeply and then arranging mozzarella and tomato slices on top. Although we had no basil, we did have a bit of fresh marjoram, so a few leaves went on too. Then some black pepper and a quick spurt of oil and into the oven.

Assembled raw pizza with mozzarella and fresh tomato on a tomato sauce base

About to go into the oven

Pizza with mozzarella and fresh tomato on a tomato sauce base

Straight out of the oven

I rotate the pizza through 180° after about 9 minutes, and take it out after 15 minutes. Scissors, I’ve learned, are far and away the easiest way to cut portions, the remainder going back into the oven, now off, to stay warm.
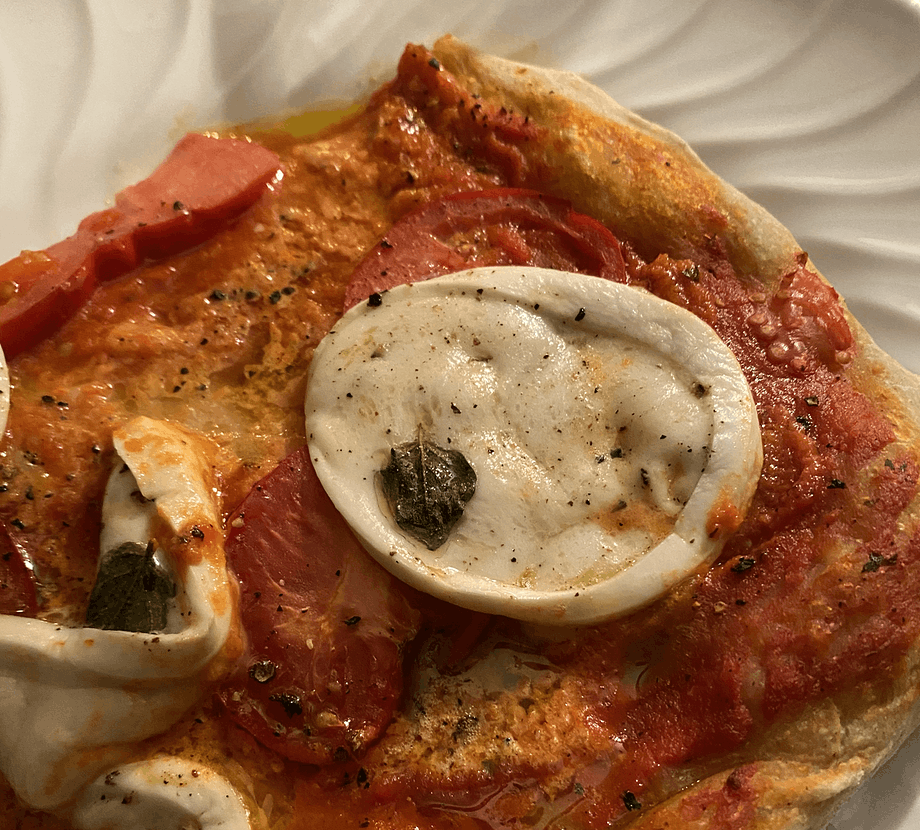
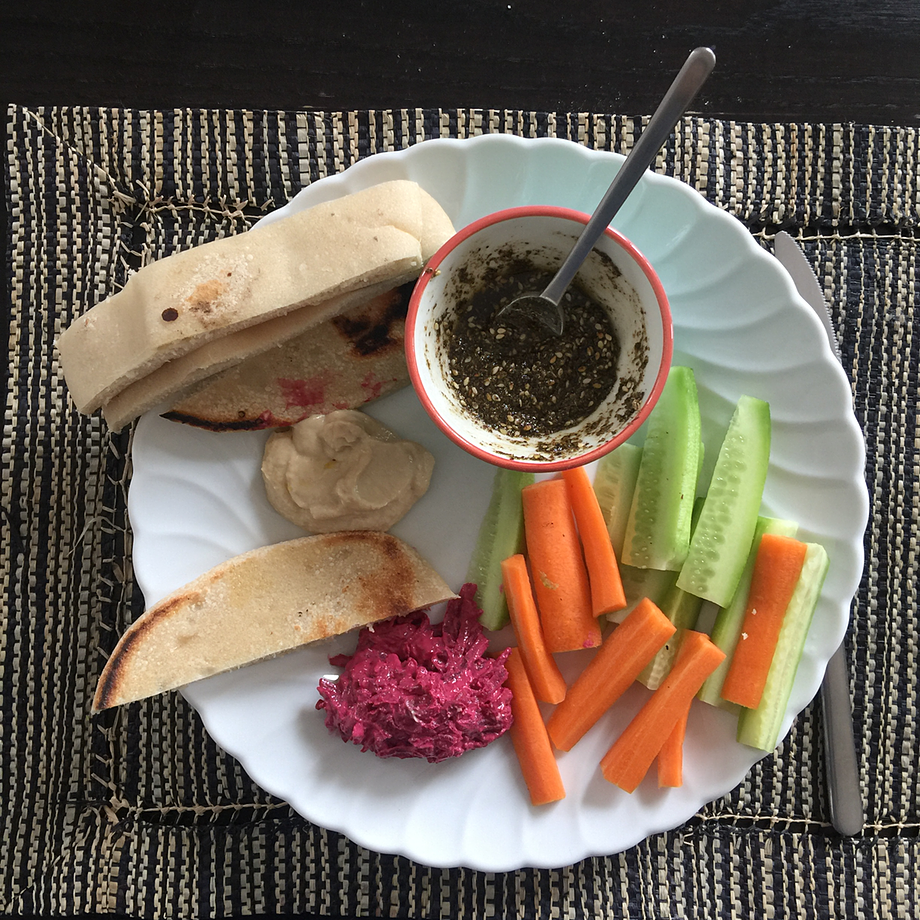
Slice of pizza with mozzarella, fresh tomato and tomato sauce base

Ready to eat

And though I say so as shouldn’t, it was very, very fine.

What would I change? Definitely cook the sauce a little longer on a higher heat to thicken it a bit more. Maybe only 500g of dough, although then stretching it to fit without tearing it might be an issue.

For Easter, it seemed like a good idea to make hot cross buns using my 100% hydration white starter instead of yeast. My starting point was Elizabeth David’s version in English Bread and Yeast Cookery, because it is straightforward without too many additional ingredients.

The recipe calls for 500g of strong white flour raised by 30g of fresh yeast and incorporating 280g of milk. I decided to make 200g of 100% hydration leaven, which I built in two stages using water, not milk, because I have never tried feeding my starter with milk. So my final buns are probably not as soft as they would have been following the recipe “properly”. I also had to substitute raisins for currents.

Ingredients

200g lively leaven at 100% hydration 
400g strong white flour 
170g milk 
60g soft brown sugar 
60g butter melted in a little of the milk 
2 eggs 
1 teaspoon salt 
1/2 teaspoon each of allspice, cinnamon, cloves, cumin and nutmeg 
125g raisins 
For the glaze, 30g milk and 2  tablespoons caster sugar

Method

Warm the butter in a little (25g) of the milk. Scrape the leaven into a larger bowl and add the milk. Break up the leaven somewhat and mix in the sugar, salt and spices. Stir up the butter in the warm milk and add that and the eggs, one at a time. Add the flour and stir until all the ingredients are mixed. Finally, add the raisins (or currants if you have them) and stir again to mix everything together. The dough will be soft and golden yellow, speckled with bits of spice. Cover with a damp tea towel and set aside somewhere warm to do it’s thing.

Spice mix

Spices mixed

After about four hours, my dough had puffed up a bit, but not quite enough. I transferred it to the oven with the electric light on and left it there for another four hours. By that time, it had more than doubled in volume. I can’t be precise about how long the bulk ferment ought to take; as ever, watch the dough, not the clock.

To prepare for making the buns, I did a very quick set of stretch and folds in the bowl then tipped the dough onto the counter. I scaled each bun at 65–70g; some recipes advise larger, about 90g. Shaping is a bit tricky. You just want to try and form them into a little ball by tucking under, like a miniature bread boule. Doing it on a floured surface and then pinching the bottom to seal worked for me.

Place the shaped buns fairly close together on a lined baking sheet and cover again with a damp tea towel to prove until noticeably puffed up. I returned mine to the oven with the electric light on for about an hour.

Shaped buns ready for final proof

Shaped buns ready for final proof

Preheat the oven to about 200°C (removing the buns first, if that’s where you put them to prove). At this point you could pipe a cross on top of the buns, but you’ll have to search for another recipe to do that. I just cut a cross in each bun, which wasn’t a huge success but was at least a gesture. Bake in the centre of the oven for about 20 minutes.

After 15 minutes, prepare the glaze. Boil the caster sugar in the milk until it is quite thick and syrupy. As soon as the buns come out of the oven, paint them with the glaze, giving each bun two coats. Elizabeth David says:

Provided that the dough was well matured and baked at the right moment, the crusts will be fine and soft and the glaze will not turn tacky or sticky but will form a fine shining mirror-like finish to the buns.

Open hot cross bun on a pretty floral plate

Opened and ready to eat; good just as they are.

Well, shiny they certainly were, but also tacky and sticky. I’m prepared to concede that perhaps the dough was imperfectly matured and baked at not quite the right moment. But they were absolutely delicious.

Hot cross bun buttered with plum jam

Gilding the lily with butter and plum jam, homemade in someone else’s home.

I was a bit worried that it might not work out, because the dough is pretty rich and might have been too much for the microbes. Given more time, I might have built the leaven with a slightly richer mix, maybe including some milk and even sugar in the feed, but as it was I needn’t have worried. As @litchfieldkitchen advised on Instagram, “have faith”. Which seems appropriate, even if I don’t have that sort of faith.

The problem was of my own making. A bit of bad planning meant both that we were due to run out of bread on Saturday and that my schedule for Saturday was very full. Certainly no time for any of my normal loaves. But a somewhat new approach saved the day with a stunningly good loaf on Sunday morning which, I swear, took me no more than 5 minutes in total on Saturday, and it was all totally serendipitous.

In one sense, my saviour was Jeremy Shapiro. On Friday, he wrote about Do-Nothing Bread, which I read because I read everything he posts. That was about an approach detailed in a book called Respectus Panis, written by a group of bakers called Les Ambassadeurs du Pain (in French, obvs., with the most intensely annoying automated music to boot, which is why I immediately went in search of details elsewhere).

I failed to run down anything very detailed, but that didn’t bother me as the whole thing looked to be pretty simple. Tiny quantities of inoculant, minimal amounts of salt and lots of time. In other words, not unlike Lahey’s no-knead formula. Just the thing, possibly, for a busy-day bread.

Ingredients & Method

10g sourdough starter, 100% hydration, straight out of the fridge
400g water
8g salt
400g white Manitoba flour
50g whole wheat flour
50g whole rye flour

Disperse the starter (you could use just a smidgen of yeast instead) in the water, add the salt and the flours and stir enough to mix all reasonably well. Cover loosely and go out for the day.

Come back and give it a set of stretch and folds in the bowl. Worry that nothing is happening.

Go out to the movies, giving another set of stretch and folds in the bowl before you leave. Continue to worry.

Come home, prepare a banneton, give the dough a final set of stretch of folds and then a coil fold directly into the banneton. Try to persuade yourself that there does seem to be a bit of activity. Cover loosely and go to bed.

Wake up, remove loose cover and marvel at the rise. Pretend you never had any doubts. Preheat the oven and a casserole to max (about 220°C). Gently tip the dough onto baking parchment, slash quickly, worry that it is spreading too fast and get it into the casserole, pronto.

After 27 minutes, remove the casserole lid and marvel all over again. Bake for a further 27 minutes. Remove and allow to cool before digging in for lunchtime. Give thanks to fellow bloggers and bakers.

Overnight rise

Slashed and spreading fast

Baked

Great oven spring

Soft, light crumb. Crisp crust. Oodles of flavour

And, of course, yesterday’s issue of the Bread magazine newsletter had a little story linking to Jeremy’s original post and some detailed versions of recipes. Mine was not exactly like any of those, but it was very fine. Do I now need to wait for another super-busy day to repeat? Probably not.

Lately I’ve started baking in greater bulk to satisfy my slowly growing list of people who pay me the ultimate compliment of paying for my bread. That could make sharing recipes here a little bit tricky, because not everyone wants to handle four loaves worth of dough at a time. ((I would love to get up to 12 loaves a time, but not with my current oven!)) Anyway, thanks to the miracle of baker’s math, I can give the quantities for a single loaf just as easily, so here goes.

Pre-ferment

I use my 100% hydrated leaven to start the pre-ferment, and as I store it in the fridge between bakes, that requires two builds to get it good and active, starting the morning before I want to start baking. To about 10g of starter I add 25g of flour and 25g of water, leaving that for about 12 hours to double. I then feed again with 25 g of flour and 25g of water, leaving it overnight. Next morning, I take 10 gm into a clean container and feed again with 25g flour and 25g water. This stays out on the counter for about 6 hours then goes into the fridge for storage.

The active starter goes into the pre-ferment.

  • 50g active starter at 100% hydration
  • 150g water
  • 250g strong white flour
  • 4g salt

First mix the water and the starter to break up the starter a bit, then add the flour and salt and stir well to incorporate everything into a rough dough. Put that aside to ripen. My kitchen is still pretty cold, so after a day the pre-ferment had barely moved and I had to put it into the fridge overnight. Next morning it had almost exploded out of its box. In warmer conditions, the pre-ferment will double in about 8-12 hours, but it really doesn’t matter much if you refrigerate to suit your schedule.

Final Dough

  • 50g whole rye flour
  • 50g wholewheat flour
  • 50g einkorn flour
  • 350g strong white flour
  • 185g water
  • 4g salt
  • 1/2 tsp dry yeast or 15g fresh yeast (optional)
  • All of the pre-ferment

The einkorn was my idea. If you don’t have any, add 50g of some other flour or just use 400g of strong white flour, rather than 350g. The yeast is completely optional, useful if you are in a hurry (or your kitchen is cold).

Mix the flours, salt and water and yeast if you’re using it. Knead the dough so that it has started to come together and then add a chunk of pre-ferment at a time, kneading between each chunk to start incorporating it into the dough. I guess about 4 or 5 chunks is right. It takes a bit of kneading to get everything properly mixed in but recently I have found this easier than mixing the pre-ferment with the water first. When the dough is uniform throughout, return it to the bowl, cover with a cloth and leave to bulk ferment.

After one hour, do one set of stretch and folds right there in the bowl. Wet your hand first and slip it gently under the dough, grab and pull up slowly, you don’t want to tear the dough, then fold it back onto the top of the dough and work your way around the ball of dough.

One (moving) picture being worth a thousand words, here’s my video.

Leave to bulk ferment for another hour, then do a second set of stretch and folds.

After a final hour of bulk fermentation, gently move the dough out onto the counter, shape, and prove for about 90 minutes before baking in a hot oven for about 50 minutes, with steam for the first half of the bake.

It’s a long story, one that I hope will appear on the podcast in the fullness of time, but suddenly we have a supply of superb hummus and other like-minded goodies here in Rome. Not so the pita. I mean, it’s OK, as a shovel or wrapping, but not for its own sake. Nothing for it, I thought, I’ll just have to bake my own.

In this I was encouraged by friends who seem to do it all the time, posting photos of the exquisite results. Off, then, to Claudia Roden’s A New Book of Middle Eastern Food and her recipe for Khubz (Eish Shami), which, she delightfully tells me, “is more commonly known in the West as Pitta bread”. I hope she won’t mind me sharing my interpretation here.

The dough is simple:

  • 500g strong flour
  • 300g tepid water (60%)
  • 4g salt (8%)

No time to do it with a leaven, so I went the direct route and added one teaspoon of dried yeast. (It should probably be more, but I did have time to allow for a longer rise.)

The joy, if you’ve been messing around with highly-hydrated doughs, is in the 15 minutes of kneading. I tend to go by counts to 100, with a little rest after each burst to see how things are going, and it is wonderful to watch and feel as the dough becomes alive and elastic beneath your hands. A wet dough, as it becomes stronger and more structured through a set of stretch-and-folds, is also a delight, but it doesn’t offer quite the same satisfaction as a proper knead.

With a lovely, lively ball of dough in your hands, dribble a short thread of olive oil into a bowl and wipe it about with the dough to just lightly coat the surface of the dough. Cover with a damp tea-towel and leave in a warm place to double, about two hours.

As you gently persuade the dough out of the bowl, pause again to marvel how extensible it has become. Resist the temptation to “punch” the dough down; a little gentle kneading is all that is required. I divided the dough into 8 pieces of 100g (Claudia advises “the size of a large potato or smaller”) and roll each one out on a lightly floured surface to a disk of around 0.5cm thick. Place these on a well-floured couche, cover with plastic film and the damp cloth, and leave again for a second rise of about another two hours.

Preheat the oven to maximum (in my case around 240°C) and place a lightly oiled (or non-stick) baking tray in to heat up. Also, prepare to steam. When you’re ready, add the water to your steam container. Then, working quickly, gently lift the rounds from the couche and onto the tray. Gentleness is crucial here; any rough handling and they won’t puff up in the oven. Spray gently with cold water “to prevent them from browning,” slip them into the oven and shut the door.

[B]ake for 6 to 10 minutes, by which time the strong yeasty aroma escaping from the oven will be replaced by the rich earthy aroma characteristic of baking bread – a sign that it is nearly done.

Do not open the oven door during this time.

I gave them eight minutes. Eight long, fraught, anxious minutes. I needn’t have worried.

As I said on Instagram: “OMG. It worked. Thanks Claudia.”

Cool the little flatbreads briefly on a wire rack and if you have any left over, pop them into a plastic bag. Anathema for most breads, but these need to stay nice and soft.

I can also attest that they reheat beautifully in a hot cast-iron frying pan.