For Easter, it seemed like a good idea to make hot cross buns using my 100% hydration white starter instead of yeast. My starting point was Elizabeth David’s version in English Bread and Yeast Cookery, because it is straightforward without too many additional ingredients.
The recipe calls for 500g of strong white flour raised by 30g of fresh yeast and incorporating 280g of milk. I decided to make 200g of 100% hydration leaven, which I built in two stages using water, not milk, because I have never tried feeding my starter with milk. So my final buns are probably not as soft as they would have been following the recipe “properly”. I also had to substitute raisins for currents.
Ingredients
200g lively leaven at 100% hydration
400g strong white flour
170g milk
60g soft brown sugar
60g butter melted in a little of the milk
2 eggs
1 teaspoon salt
1/2 teaspoon each of allspice, cinnamon, cloves, cumin and nutmeg
125g raisins
For the glaze, 30g milk and 2  tablespoons caster sugar
Method
Warm the butter in a little (25g) of the milk. Scrape the leaven into a larger bowl and add the milk. Break up the leaven somewhat and mix in the sugar, salt and spices. Stir up the butter in the warm milk and add that and the eggs, one at a time. Add the flour and stir until all the ingredients are mixed. Finally, add the raisins (or currants if you have them) and stir again to mix everything together. The dough will be soft and golden yellow, speckled with bits of spice. Cover with a damp tea towel and set aside somewhere warm to do it’s thing.
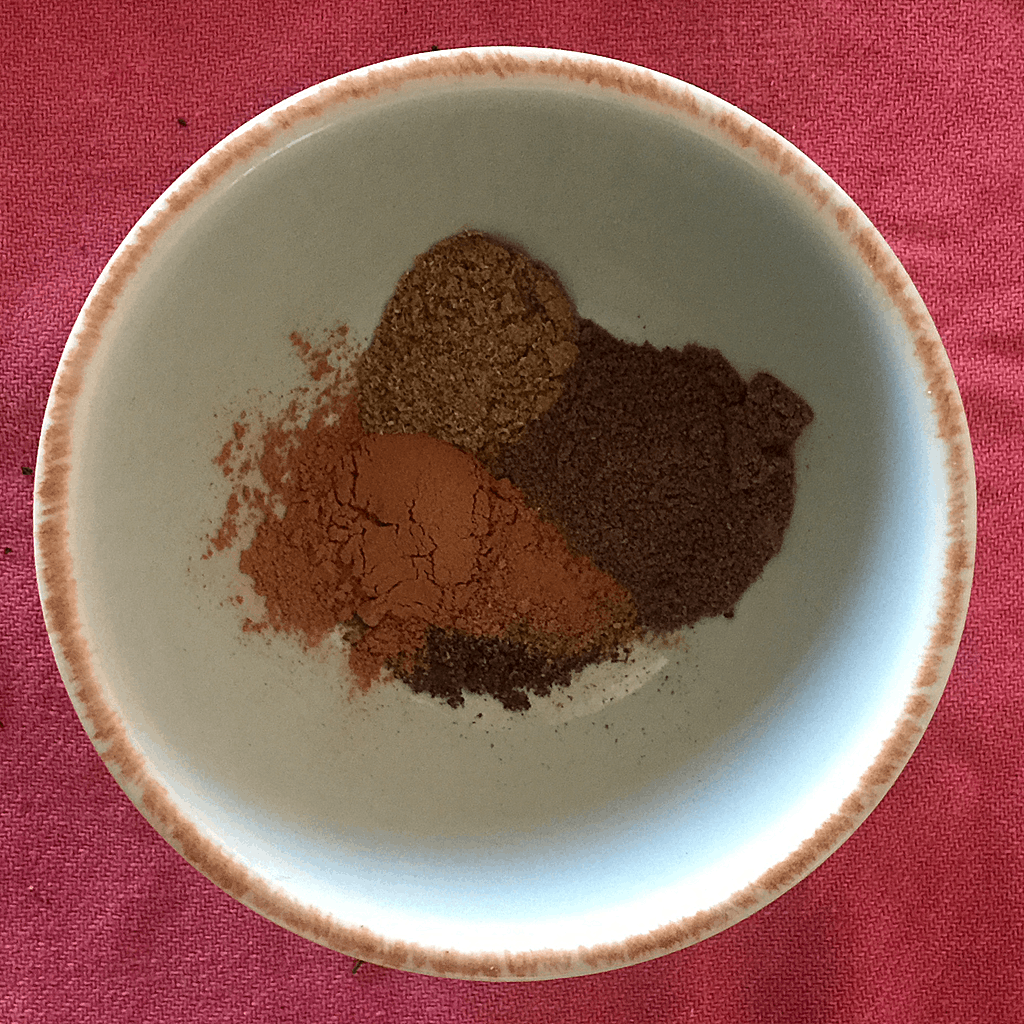
Spices mixed
After about four hours, my dough had puffed up a bit, but not quite enough. I transferred it to the oven with the electric light on and left it there for another four hours. By that time, it had more than doubled in volume. I can’t be precise about how long the bulk ferment ought to take; as ever, watch the dough, not the clock.
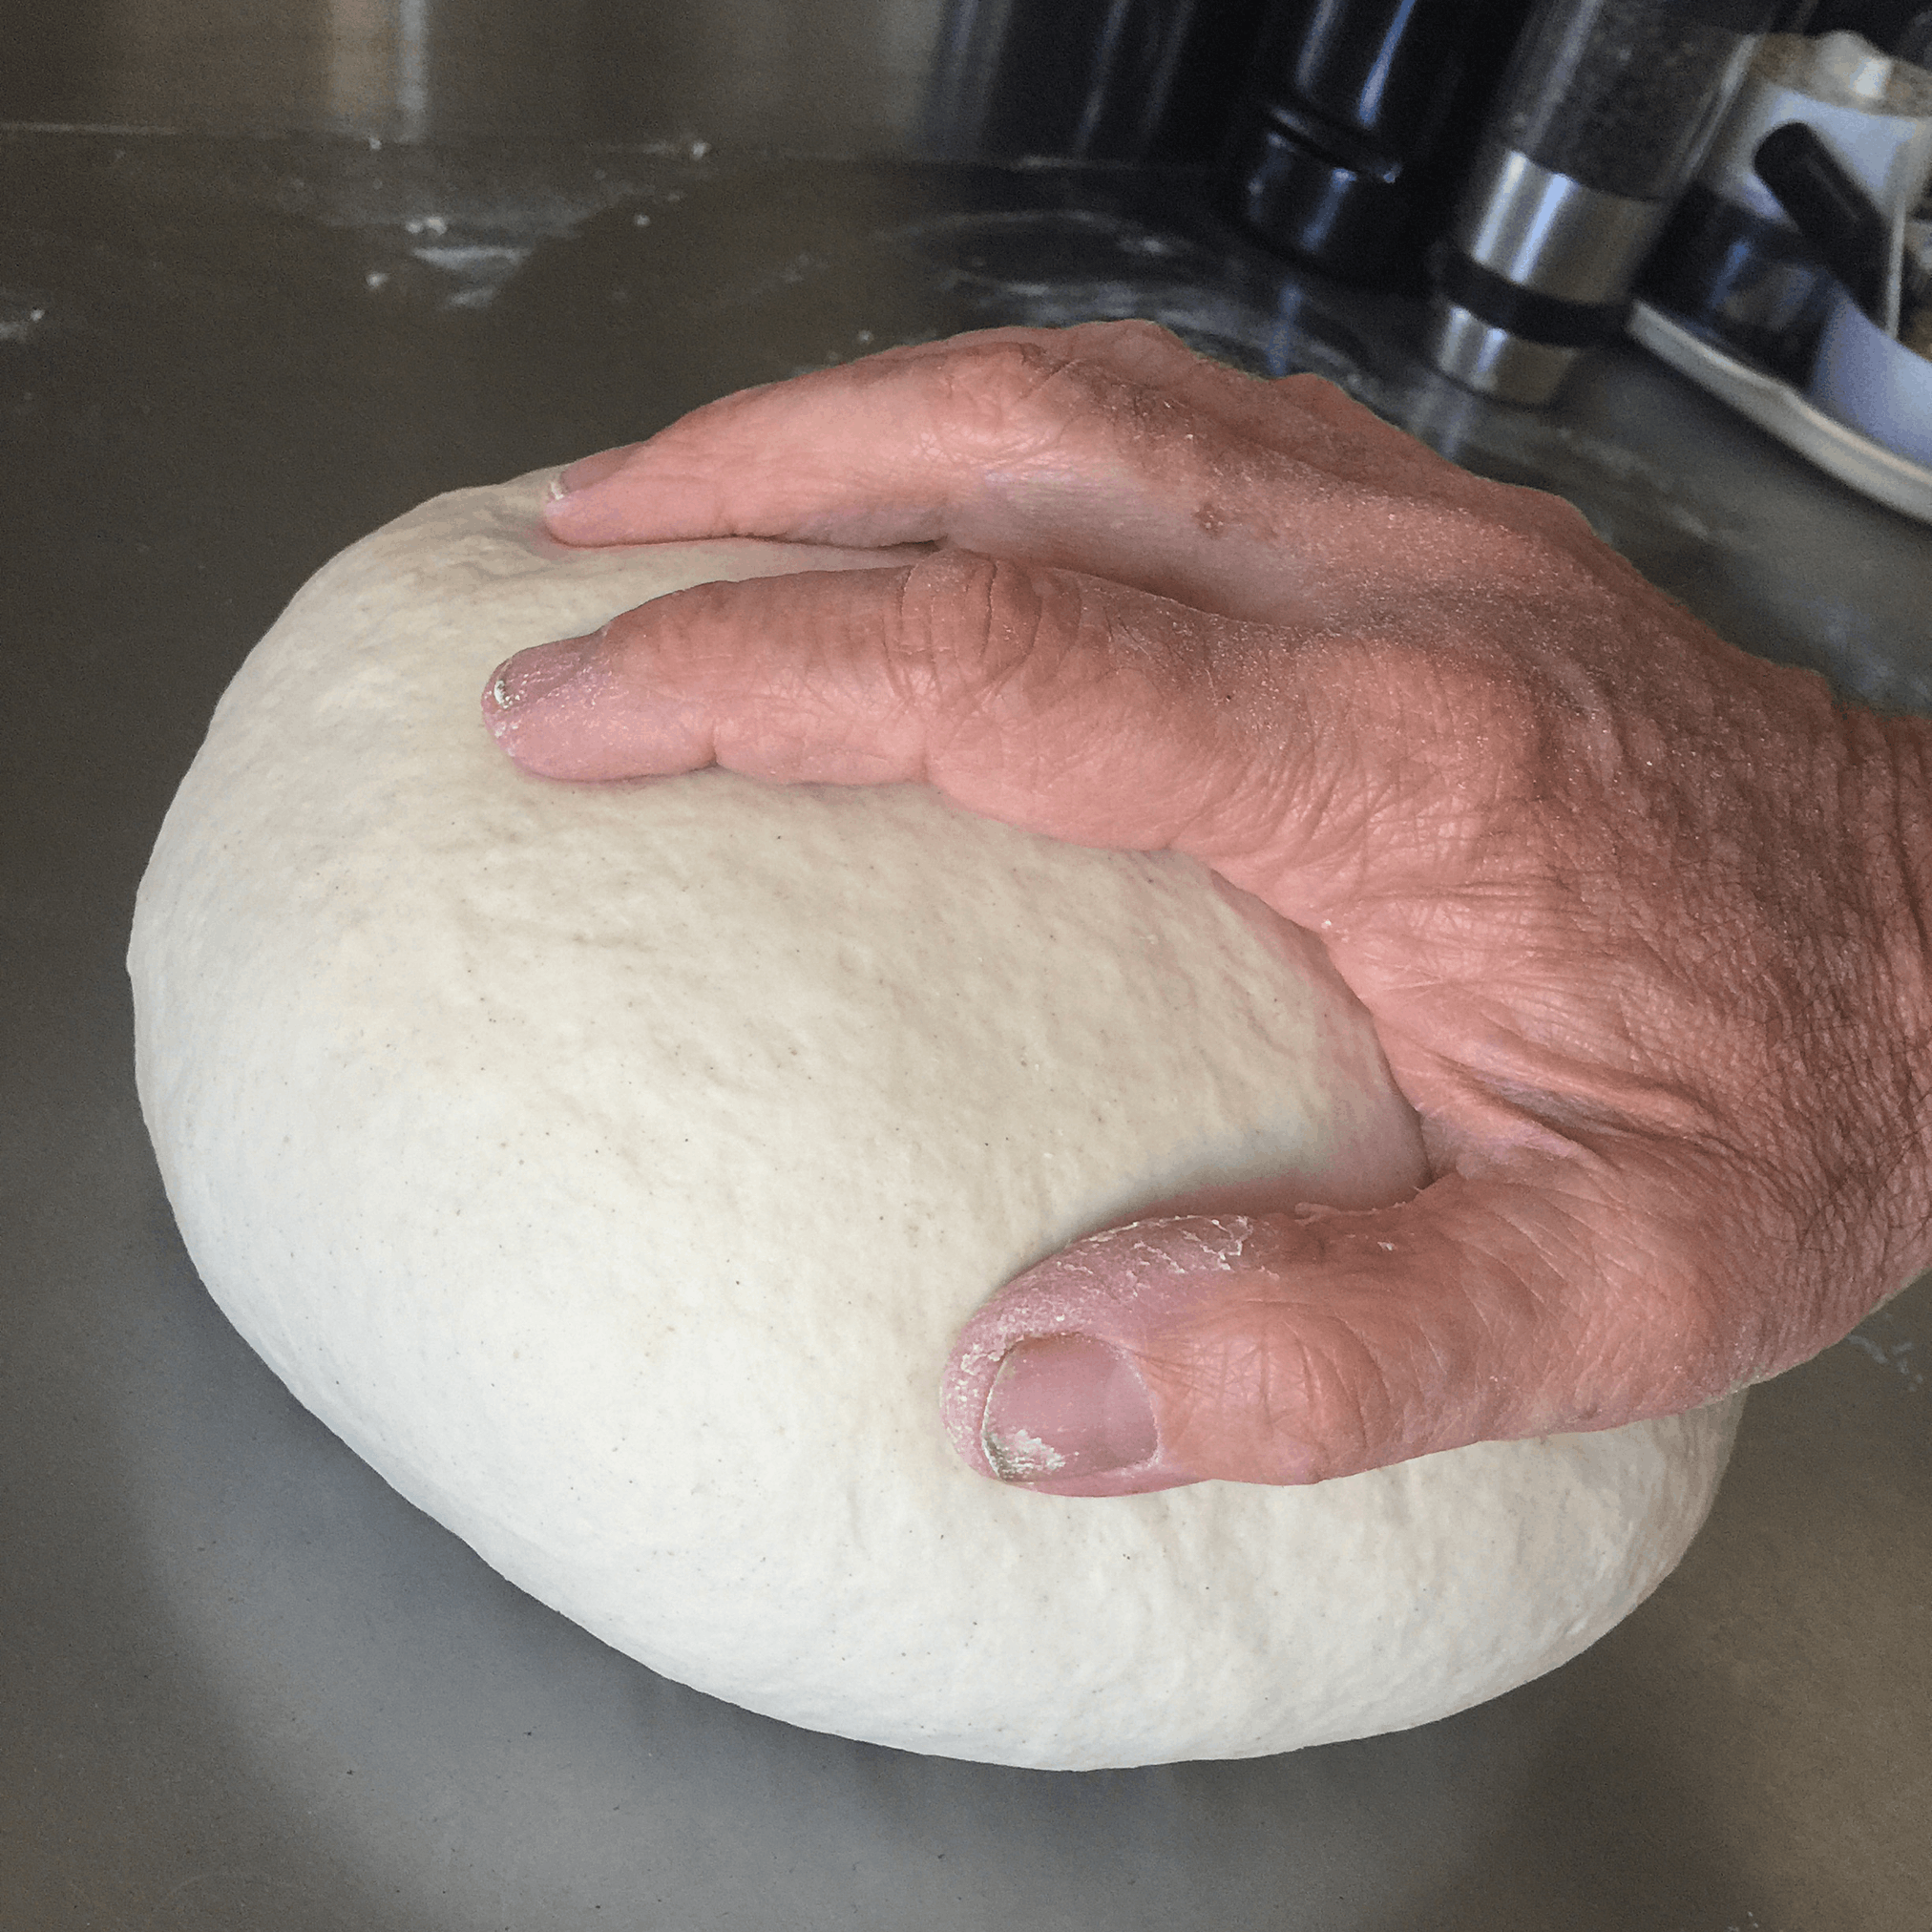
To prepare for making the buns, I did a very quick set of stretch and folds in the bowl then tipped the dough onto the counter. I scaled each bun at 65–70g; some recipes advise larger, about 90g. Shaping is a bit tricky. You just want to try and form them into a little ball by tucking under, like a miniature bread boule. Doing it on a floured surface and then pinching the bottom to seal worked for me.
Place the shaped buns fairly close together on a lined baking sheet and cover again with a damp tea towel to prove until noticeably puffed up. I returned mine to the oven with the electric light on for about an hour.
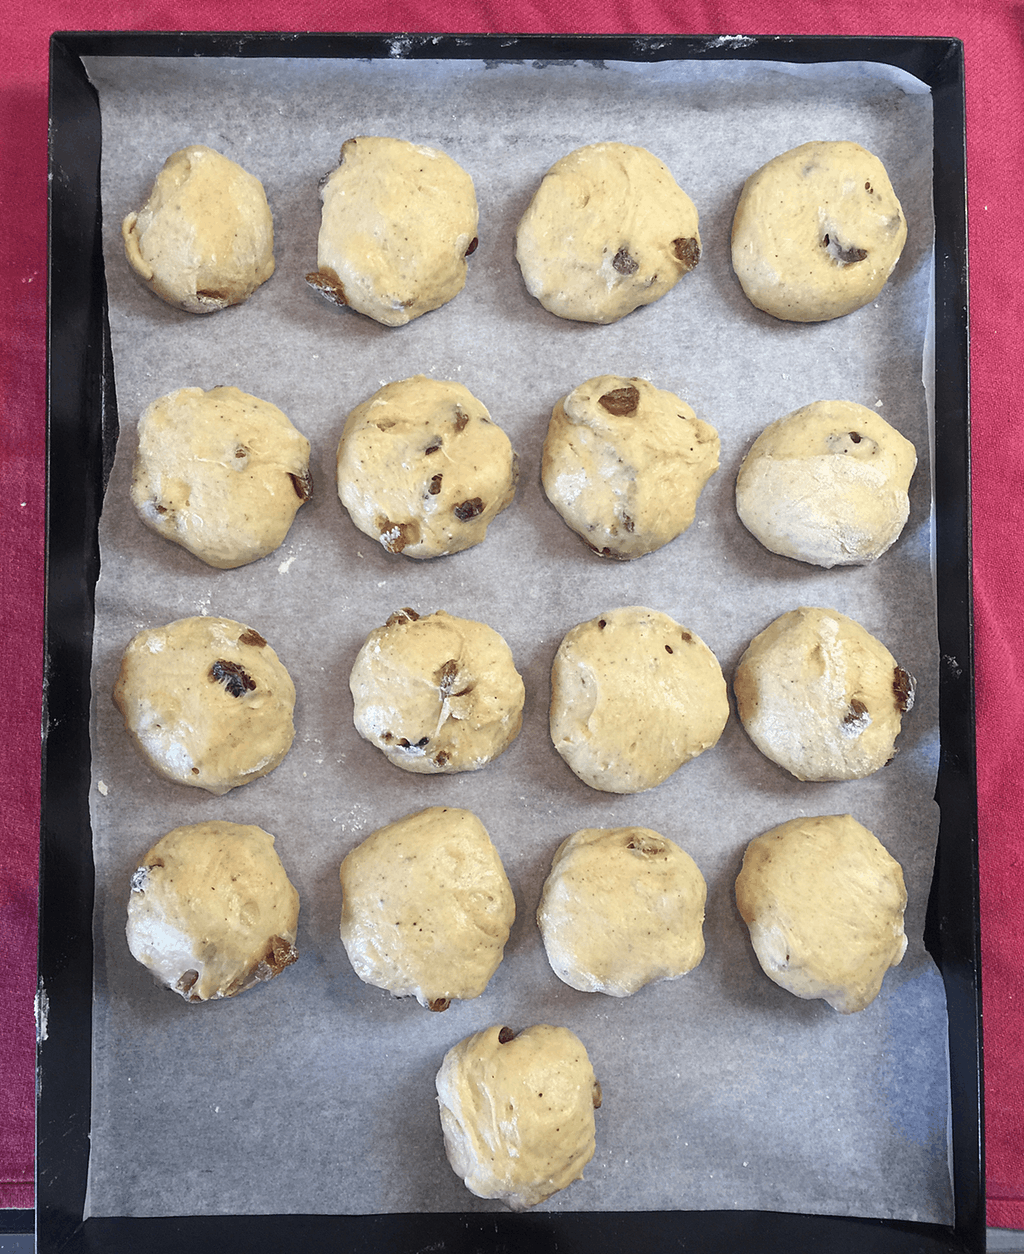
Shaped buns ready for final proof
Preheat the oven to about 200°C (removing the buns first, if that’s where you put them to prove). At this point you could pipe a cross on top of the buns, but you’ll have to search for another recipe to do that. I just cut a cross in each bun, which wasn’t a huge success but was at least a gesture. Bake in the centre of the oven for about 20 minutes.
After 15 minutes, prepare the glaze. Boil the caster sugar in the milk until it is quite thick and syrupy. As soon as the buns come out of the oven, paint them with the glaze, giving each bun two coats. Elizabeth David says:
Provided that the dough was well matured and baked at the right moment, the crusts will be fine and soft and the glaze will not turn tacky or sticky but will form a fine shining mirror-like finish to the buns.
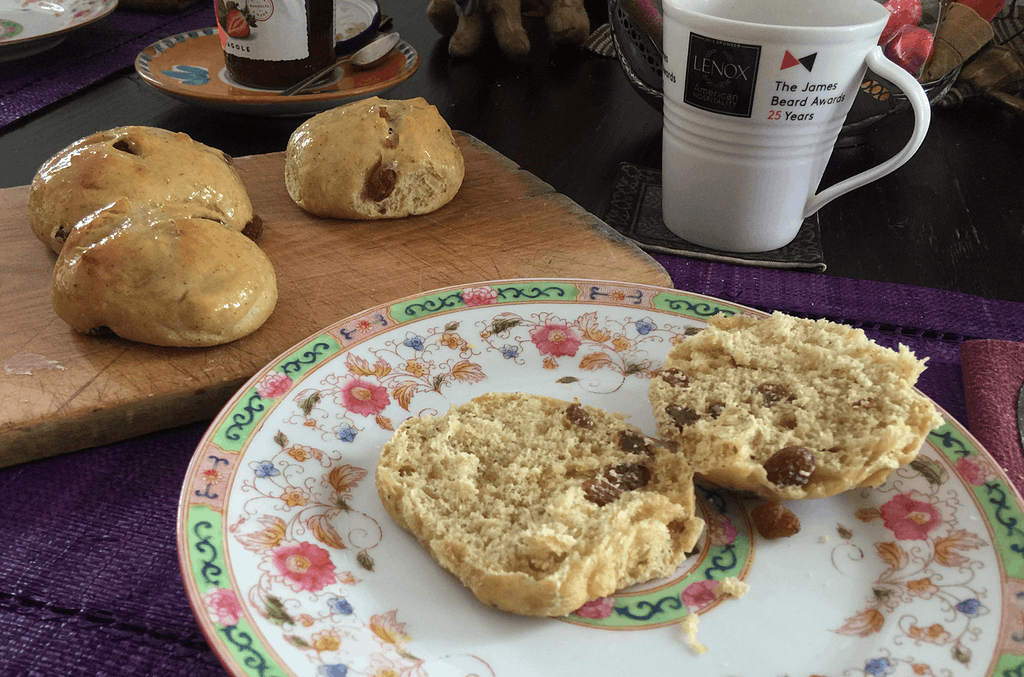
Opened and ready to eat; good just as they are.
Well, shiny they certainly were, but also tacky and sticky. I’m prepared to concede that perhaps the dough was imperfectly matured and baked at not quite the right moment. But they were absolutely delicious.
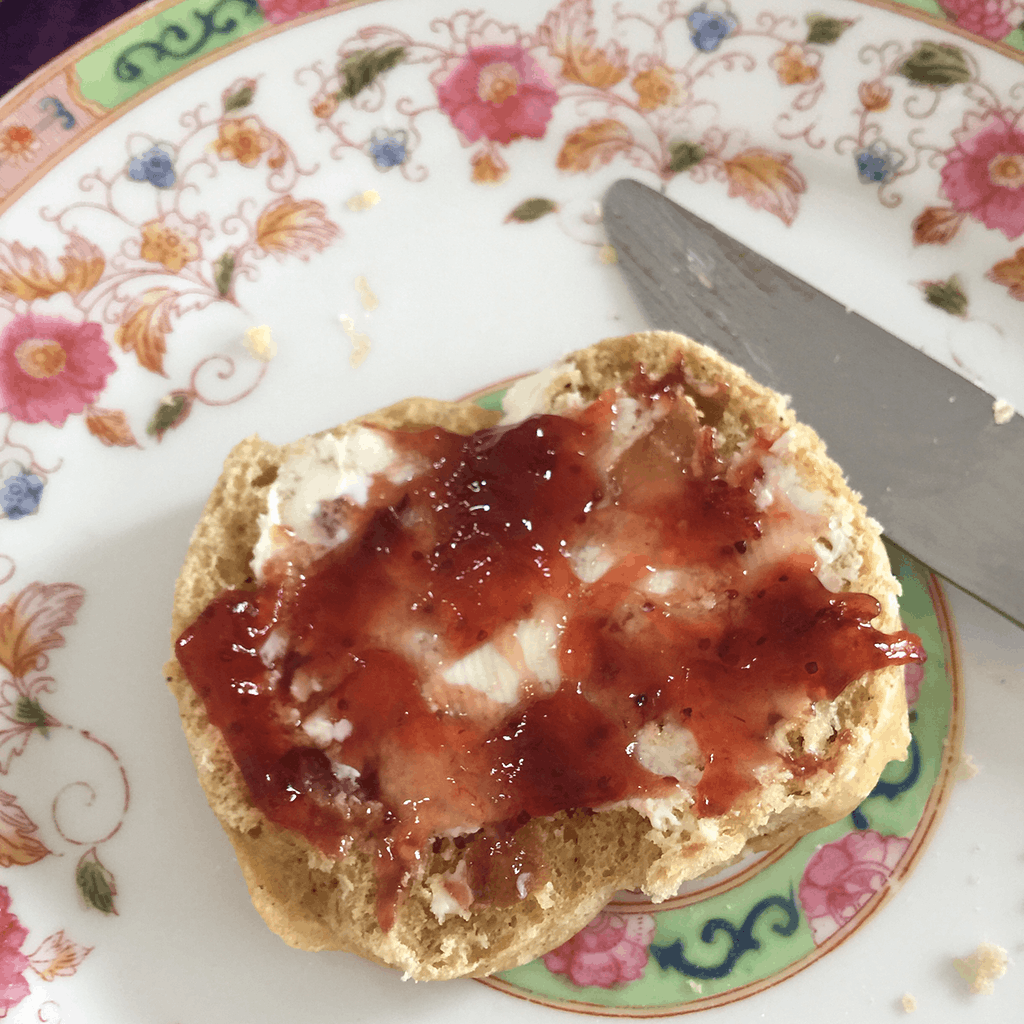
Gilding the lily with butter and plum jam, homemade in someone else’s home.
I was a bit worried that it might not work out, because the dough is pretty rich and might have been too much for the microbes. Given more time, I might have built the leaven with a slightly richer mix, maybe including some milk and even sugar in the feed, but as it was I needn’t have worried. As @litchfieldkitchen advised on Instagram, “have faith”. Which seems appropriate, even if I don’t have that sort of faith.