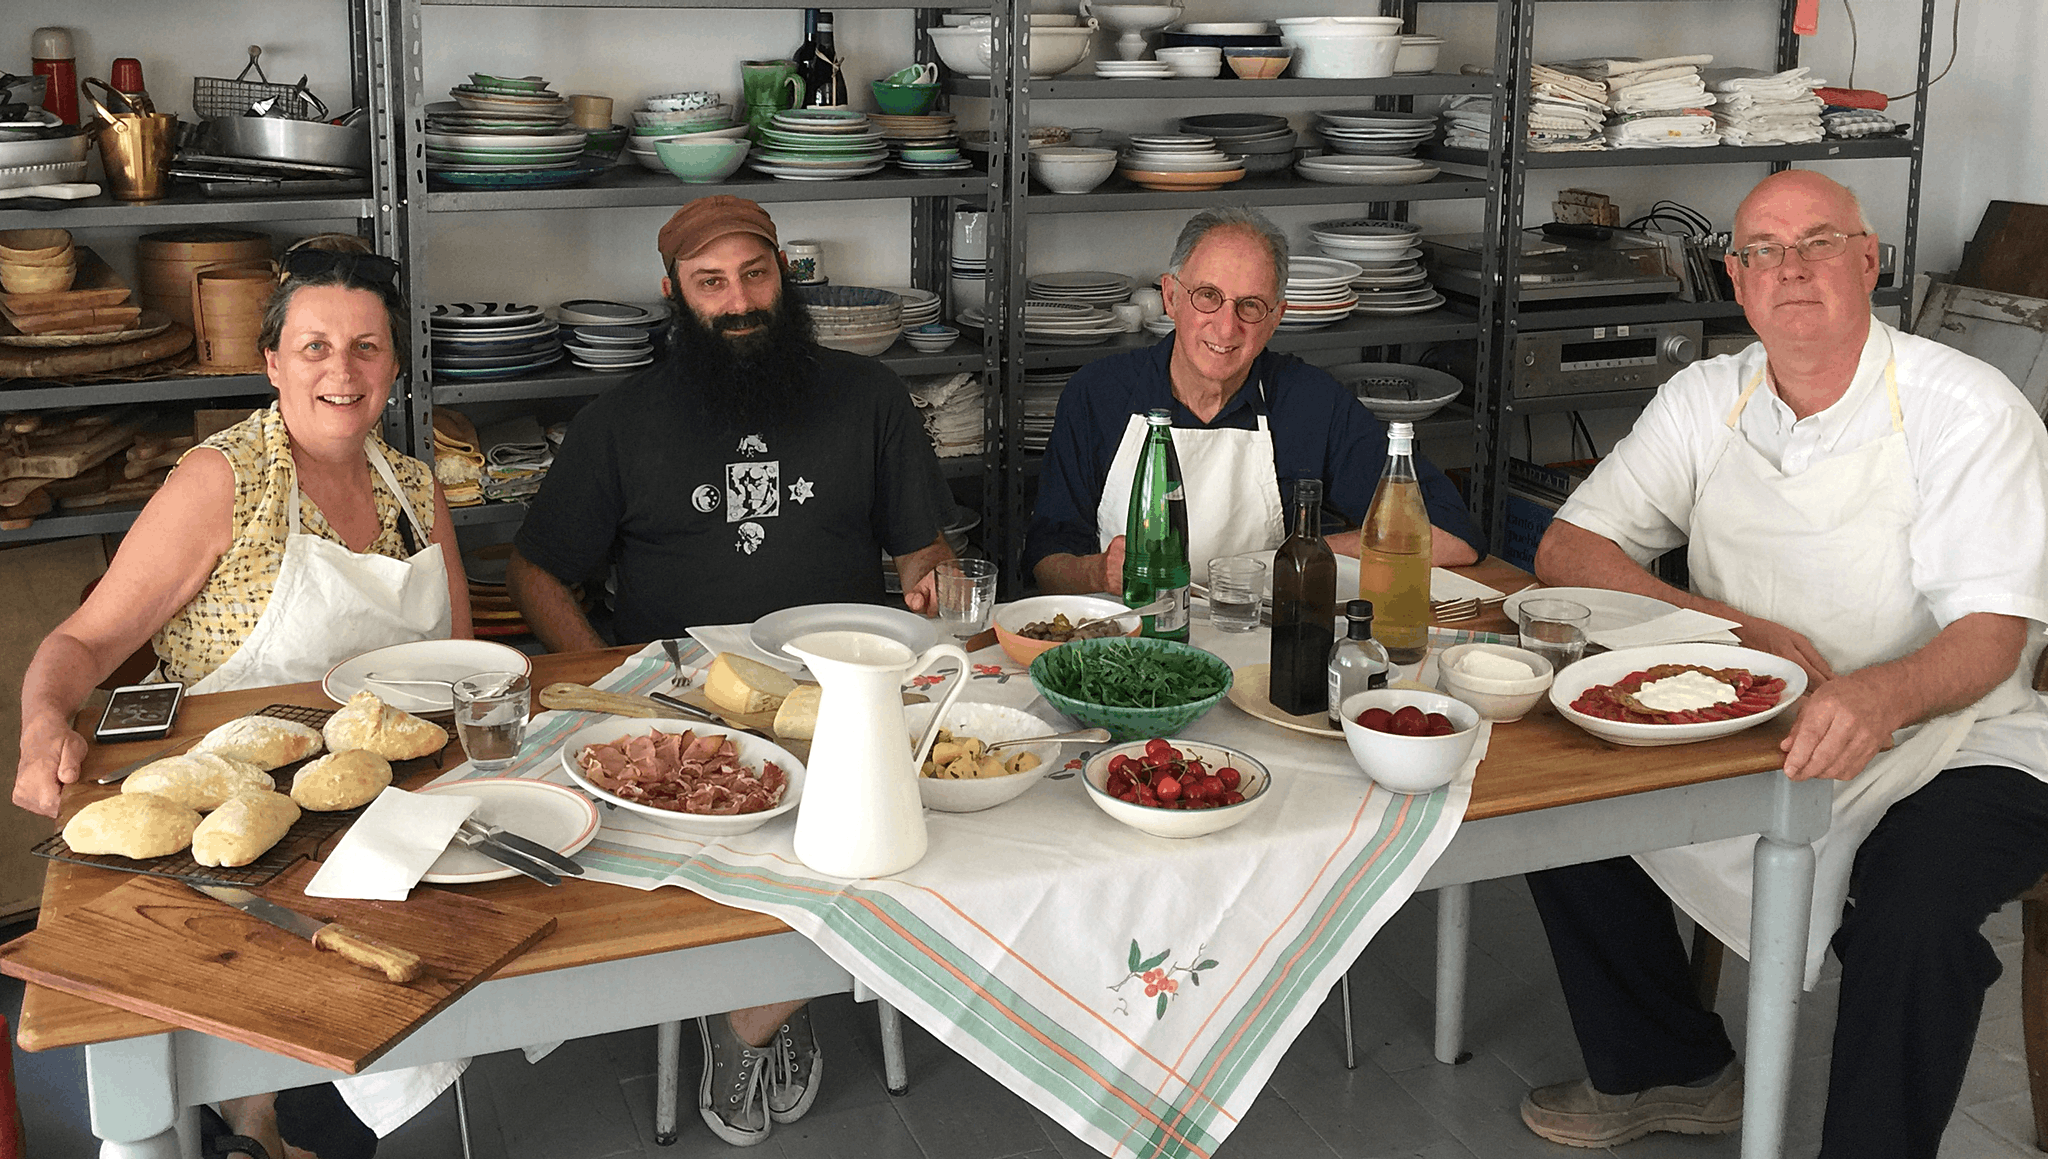
Three newly minted bakers, with their loaves and the starter that they will make their own
Excellent day all around. Latteria Studio really is an excellent space in which to cook, to talk and to relax. I got in early this morning to set everything up and get my thoughts in order. It’s a calm time, not quite on auto-pilot but going through a routine I’ve gone through before and which I can do with confidence. So that’s what I did, laying out each person’s space, the communal stuff, checking that we had everything we needed. As start time approached, I turned to get the coffee going and that was the only brief moment of panic. No gas. A quick call later and all was good, with the coffee pot singing its burpalicious little song just as the guests arrived.
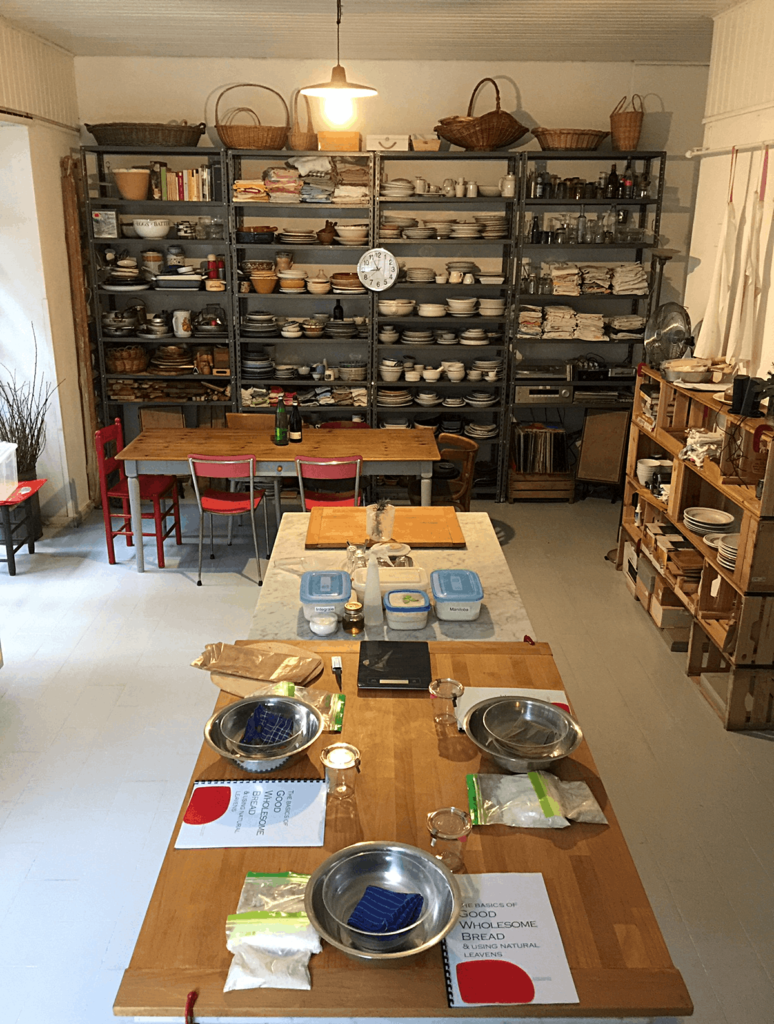
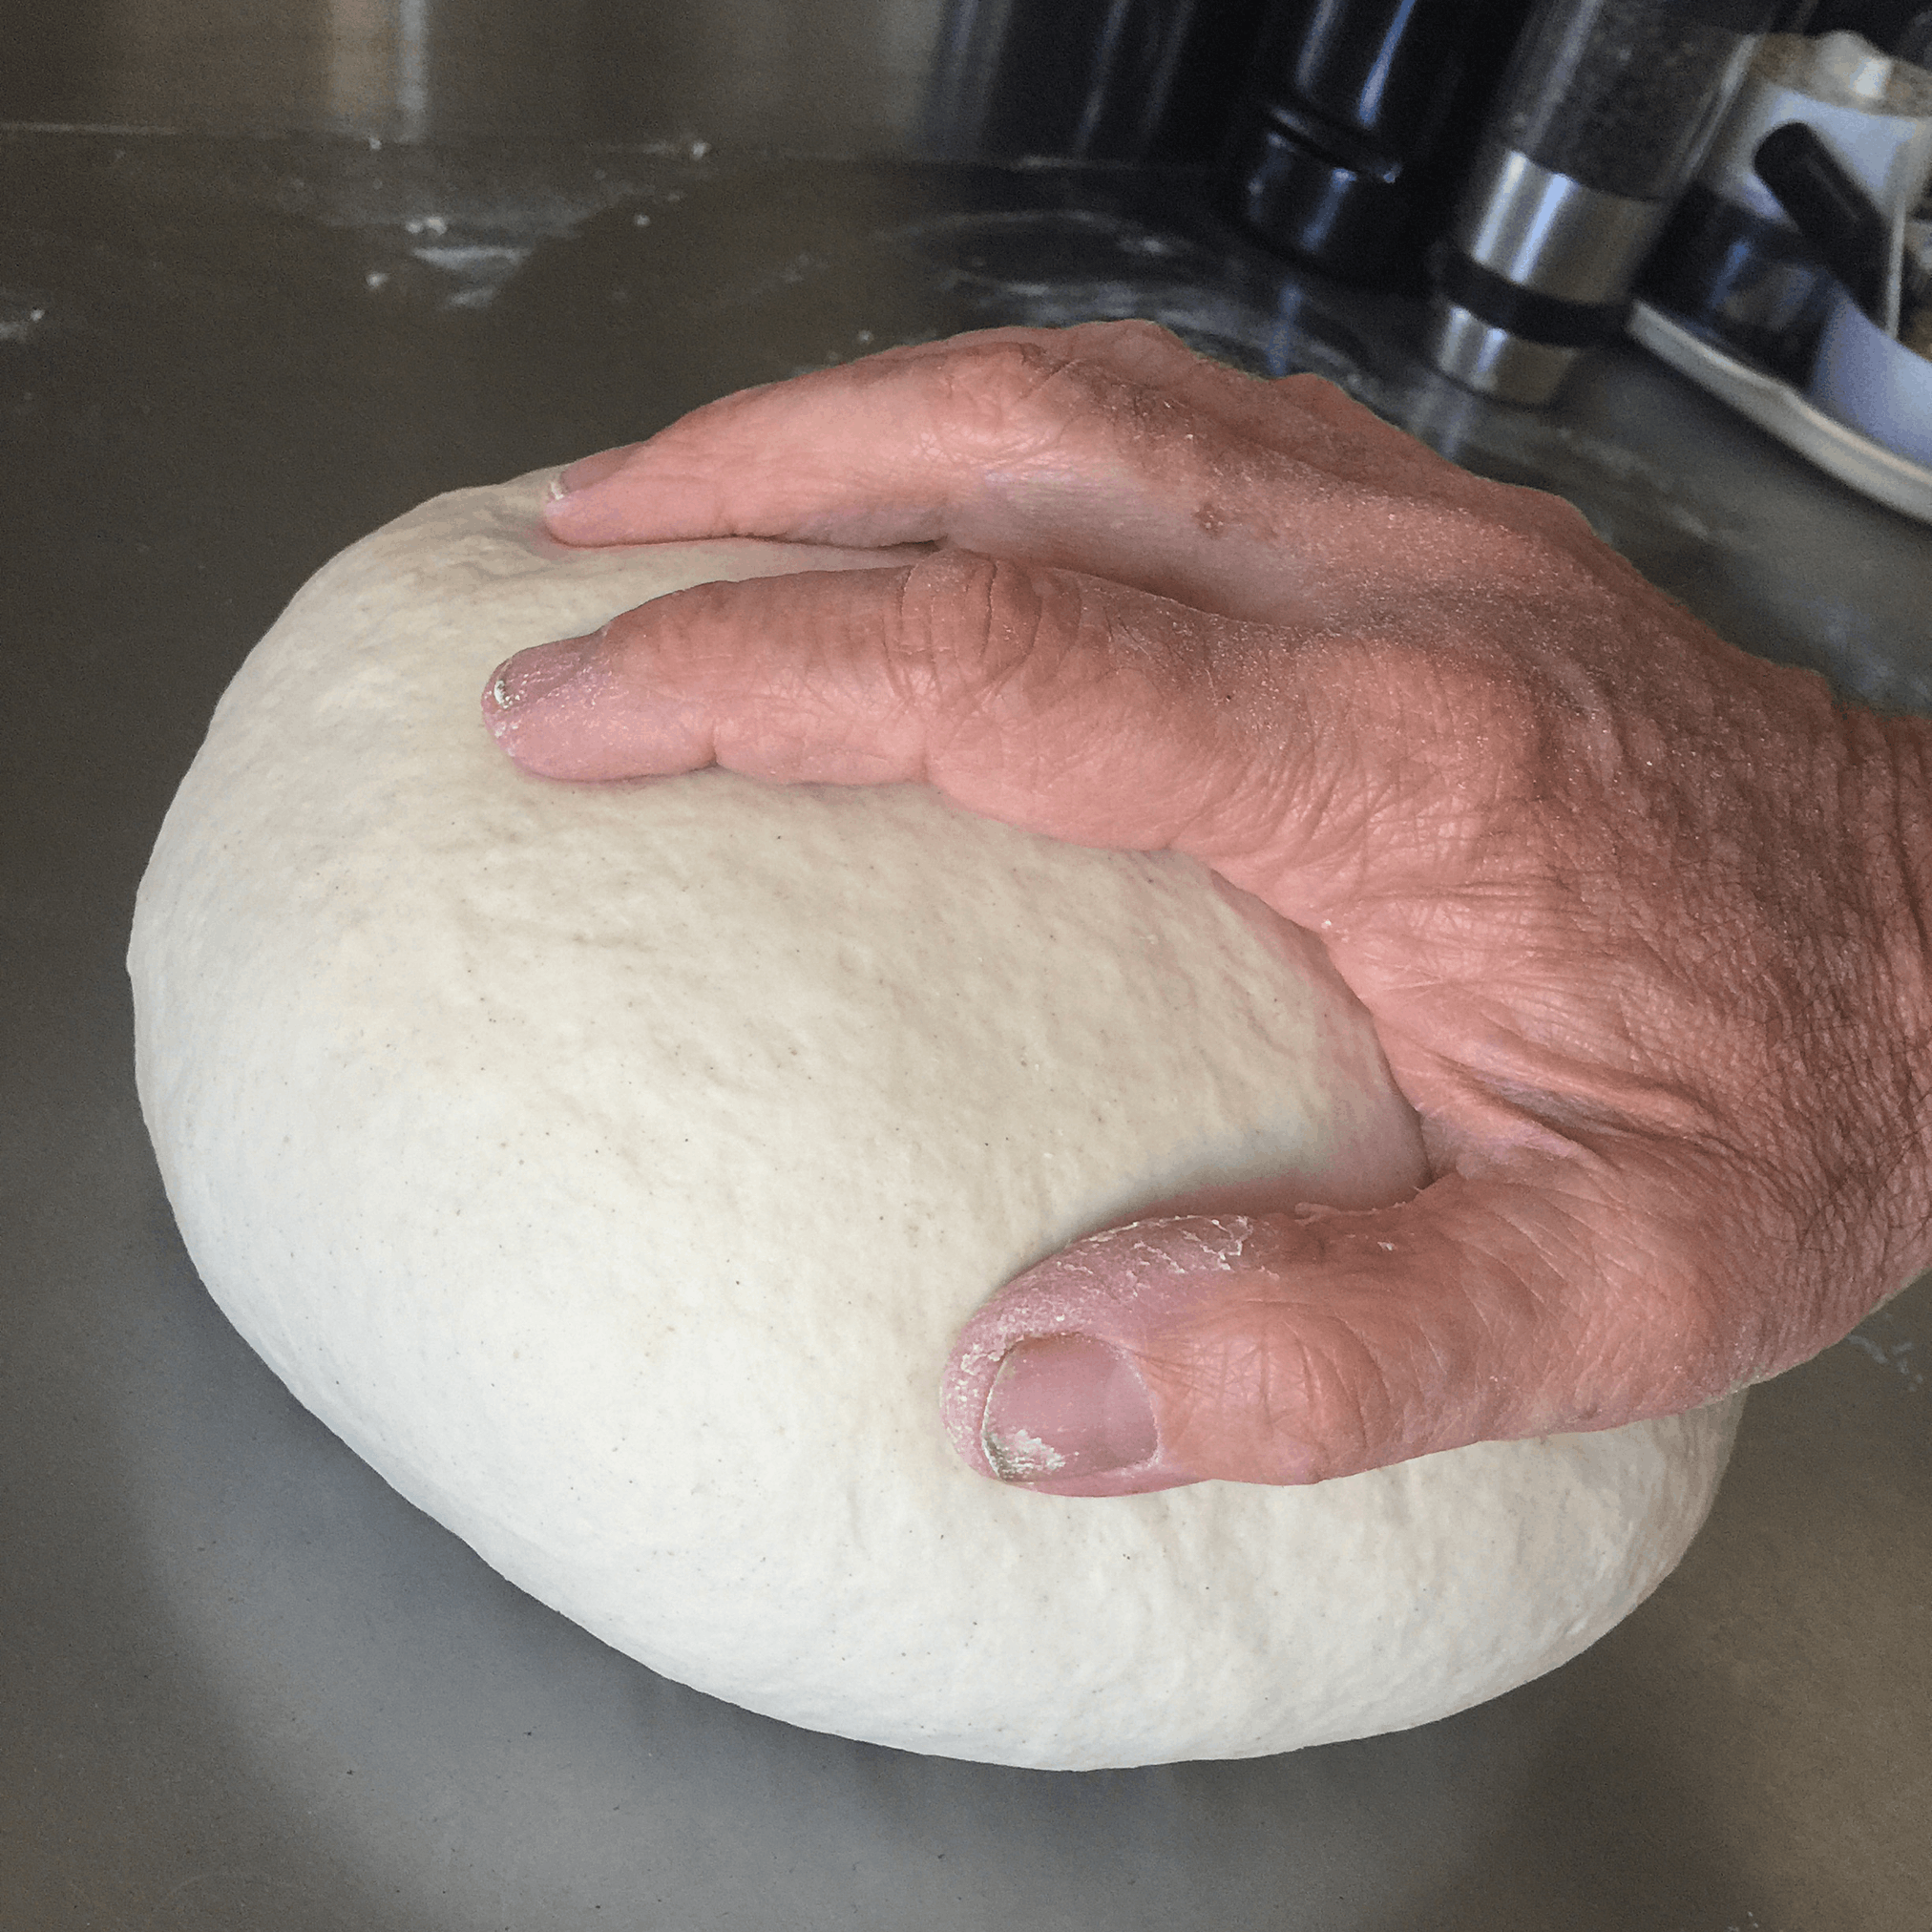
We had a quick coffee, went briefly through the outline of the day and got down to work. For the one-day course, I have to make the leaven the day before. There just isn’t time otherwise. I also weigh out the flour to speed things along. Still, there’s enough practice using electonic scales to measure the water and salt, and then its on to mixing and kneading, and getting people used to the idea of using their body weight, not their arms or, worse yet, their fingers. These were accomplished kneaders though, and we soon had three lovely, plump, smooth balls of dough ready to rest and rise.
I then did a quick batch of my focaccia dough, which is very liquid and benefits from 10% wholewheat flour and only 10 gm of olive oil in the mix. I also like to stir some rosemary into the dough because it infuses the whole piece with its aroma.
And then the talk; on leavens, wheat and flour, salt and water and, of course, the magic that turns those into bread. I’m not super good at expressing the motivations of creation and transformation and self-sufficiency, even though I feel them deeply, but I think it comes across. By then it was time for the focaccia to go into the oven, the risen dough to be shaped, and the delicious lunch Alice had prepared. The foccacia did not disappoint.
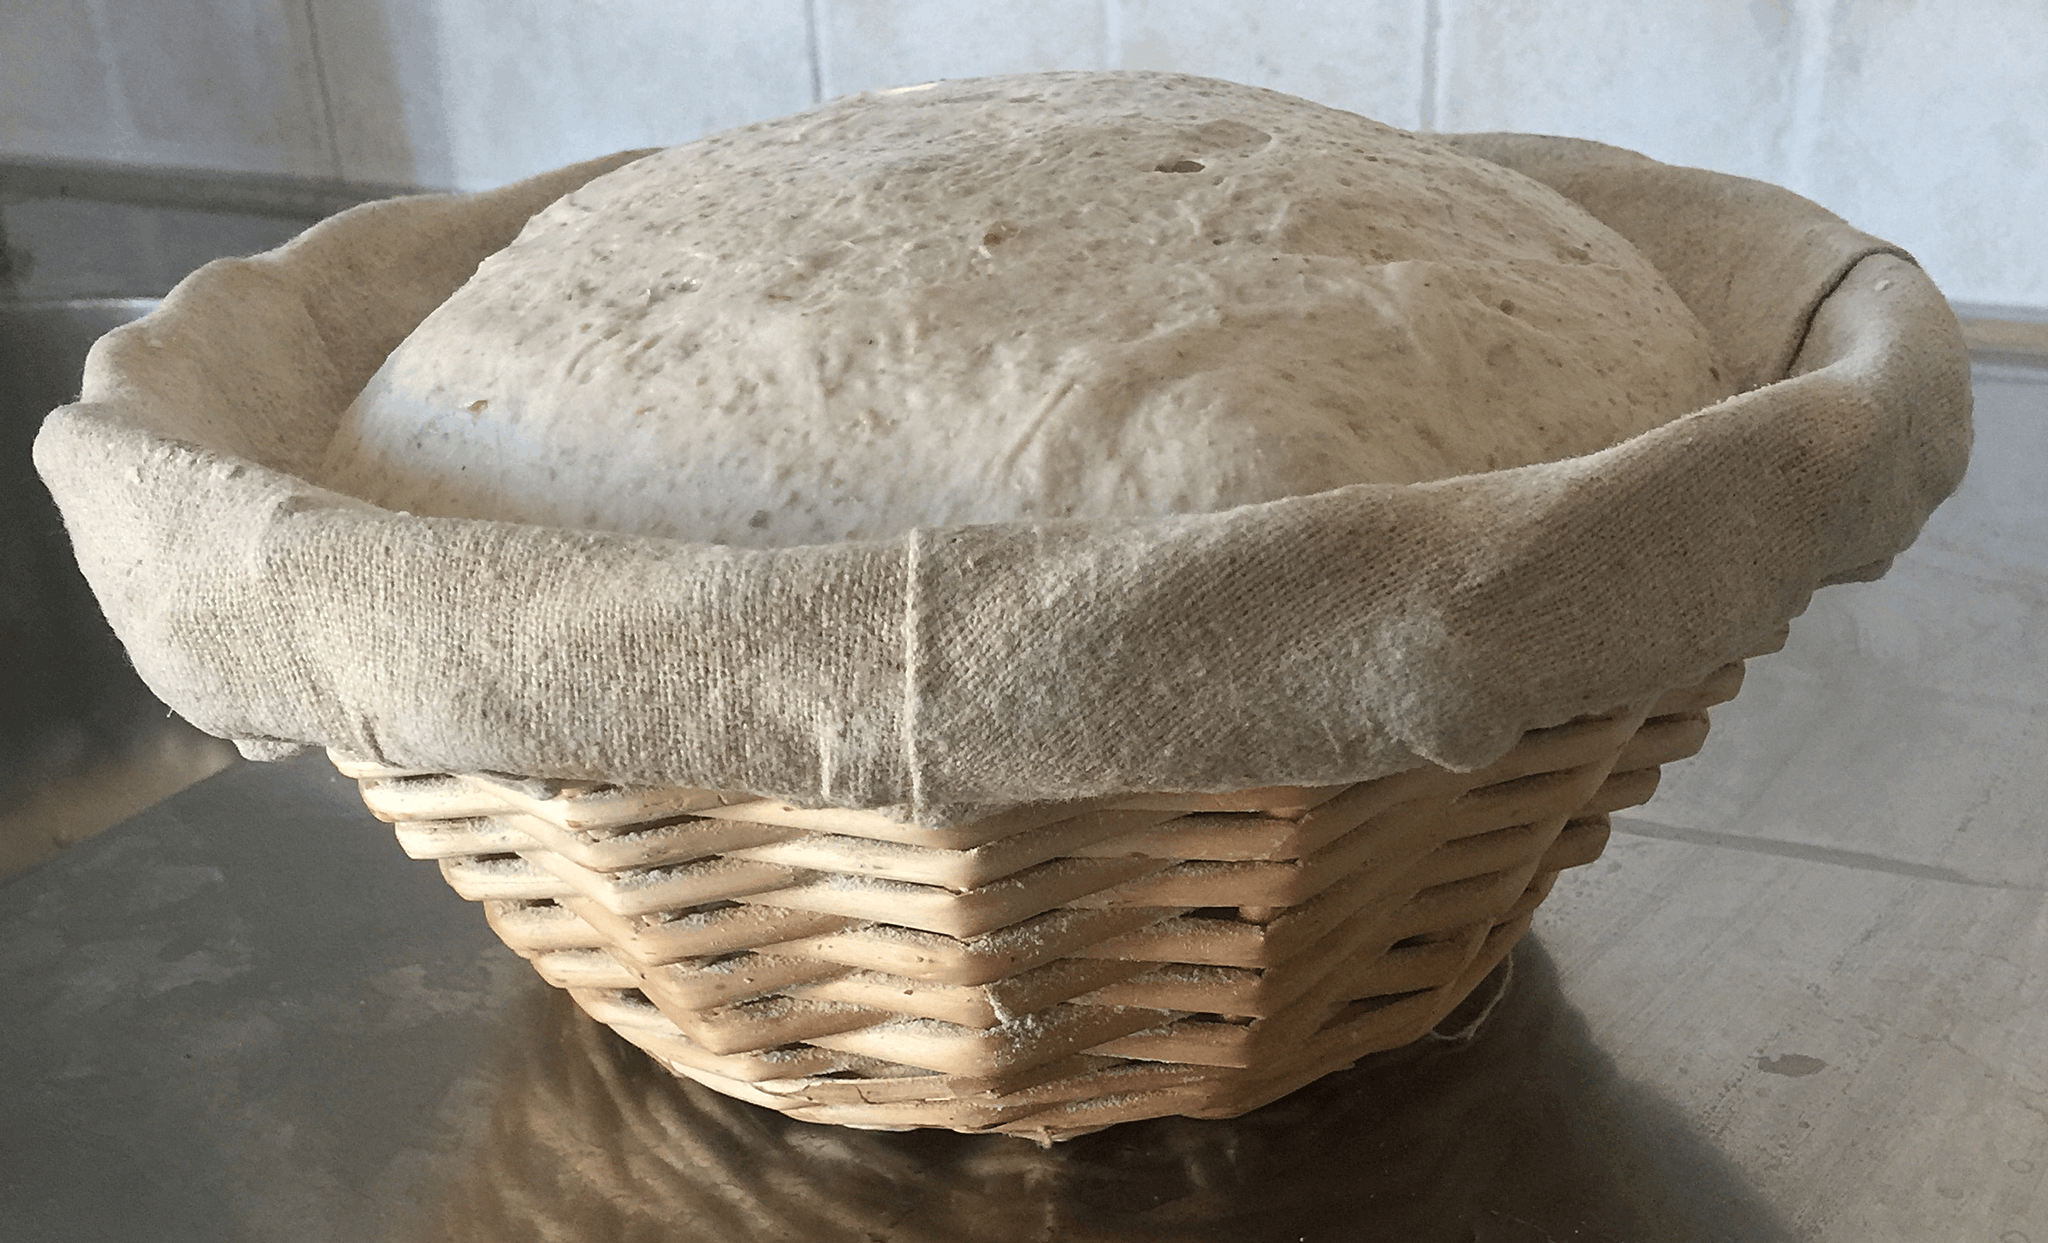
Proved bread into the oven and more talk touching on the history of the industrial processes that underpin inexpensive supermarket bread, and what we exchange for low cost and convenience.
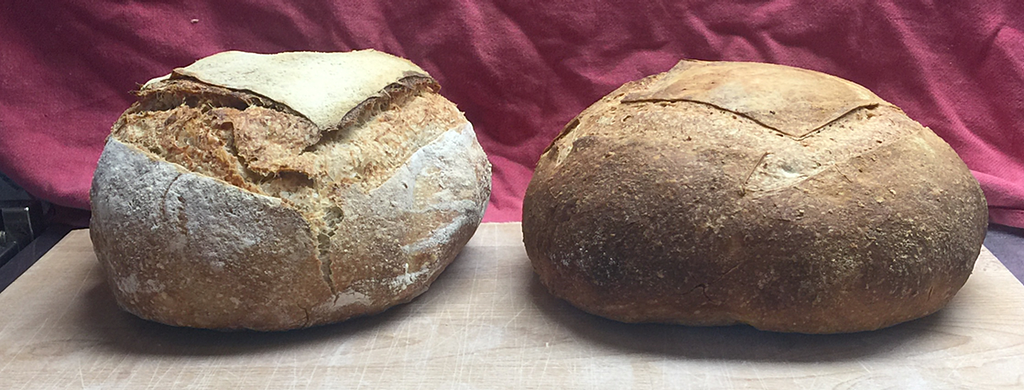
The pleasure of seeing people take their first loaf out of the oven never leaves me and, I hope, will spur them to continue. Finally, they recite The Pledge as they receive their portion of my starter, just as I recited it when I received my portion a decade or so ago.