A couple of weeks ago some of the alumni of Sourdough U and potential new students were in Tuscany, celebrating a milestone birthday, and asked if I could do another bread-making class. Of course. We toyed with bagels, but what’s the point, really, for people who can buy a good bagel any day of the week? And we toyed with pizza, given that the place had a wood-fired oven, but without an expert in wood-fired ovens, which I am not, that would be too tricky. In the end, we settled on Hamelman’s Sourdough Seed Bread, which has become a recent favourite, and it went very well. Not content with that, though, I decided to try my hand at ciabatta.
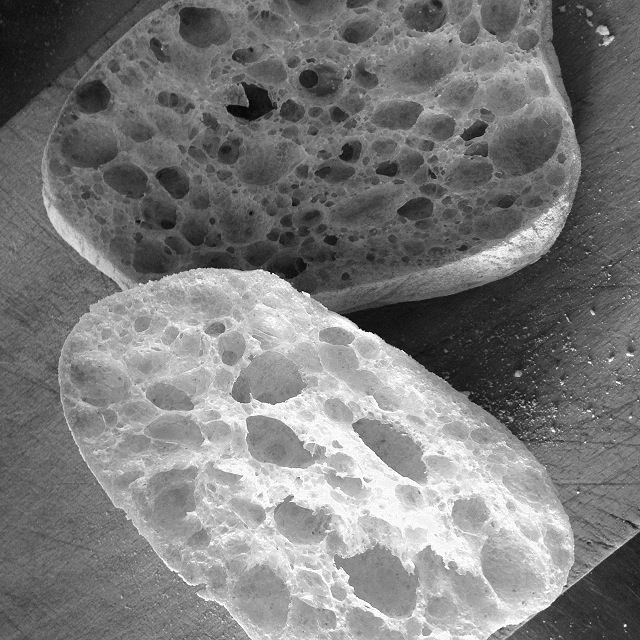
Ciabatta does actually share one key characteristic with bagels: abominations abound, little breads that have nothing in common with the original beside their shape. The secret to a good ciabatta is a very wet dough — Hamelman’s formulae are 73% and 72% — that permits the characteristic giant holes and blistered crust. Building strong gluten that will hold the gas for holes is a challenge in such a wet dough, and one that seems to require a machine, but I remember reading ages ago a piece by Susan of Wild Yeast about making ciabatta rolls by hand. The key is a technique called double hydration: you make a good strong dough with some of the water, and when that is done incorporate the rest of the water to increase the hydration. I’ve had to add extra water to a dough before, when I’ve made a mistake in measurements, and under those circumstances it can be a real pain. Doing it deliberately sets up different expectations, although working with an 75% dough is not for the faint-hearted. I followed Susan’s recipe and method pretty carefully, although I use slightly less salt.
Ingredients
610 gm ripe starter at 100% hydration
465 gm bread flour
75 gm whole wheat flour
26 gm olive oil
15 gm salt
355 gm water
Extra flour (lots of it) for dusting
Method
Combine the starter with 280 gm of the water, the additional flour, the salt and the olive oil and bring this dough together as a rough mass. Turn it out onto a counter and knead until the dough is smooth and elastic. At this stage hydration is 62% and so the dough might be a bit sticky but should nevertheless be quite easy to knead without any extra flour. It took me about 10 minutes to get a well-developed dough.
Now comes the fun. Return the dough to the bowl and add the remaining 75 gm of the water. At this point, you need to get the water into the dough, rather than slipping around entertainingly on the surface. A combination of squidging through your fingers, folding the dough in on itself repeatedly, whirring your hand around pretending to be a dough-hook; whatever it takes. Hydration is now 70%, and I’d leave it there the first time you try this. As you become more proficient you can go up to 75% (which would mean 115 gm of water in the second hydration) or beyond. The tricky part is not so much hydrating the dough but handling it after the bulk fermentation.
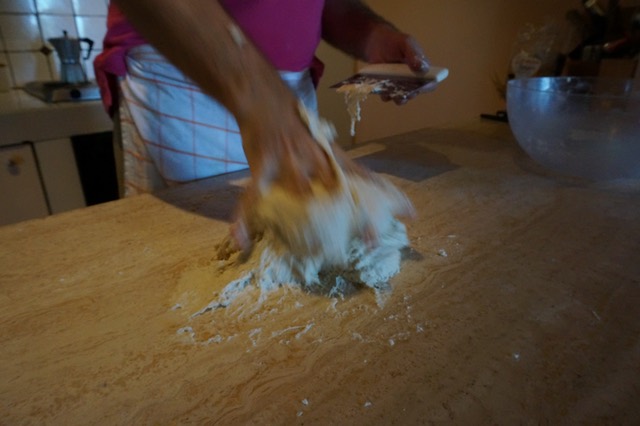
Sticky ciabbata dough.
With all the water in the dough, lightly oil a clean bowl and pour the dough into it. Cover, and set aside for 30 minutes. Give the dough a couple of sets of stretch and folds, either in the bowl or, better yet, on a floured work surface, brushing off any surplus flour so as not to incorporate it into the folded dough. Return to the bowl and stretch and fold again at 60 minutes and 120 minutes (i.e. 3 sets of stretch and fold during the 2 hours of bulk fermentation). It is truly remarkable how much structure the dough gains after a couple of rounds of stretch and fold; Susan has great pictures, I was too preoccupied to take any. At this point, put the bowl in a plastic bag and pop the whole lot into the fridge for 7-12 hours, or overnight.
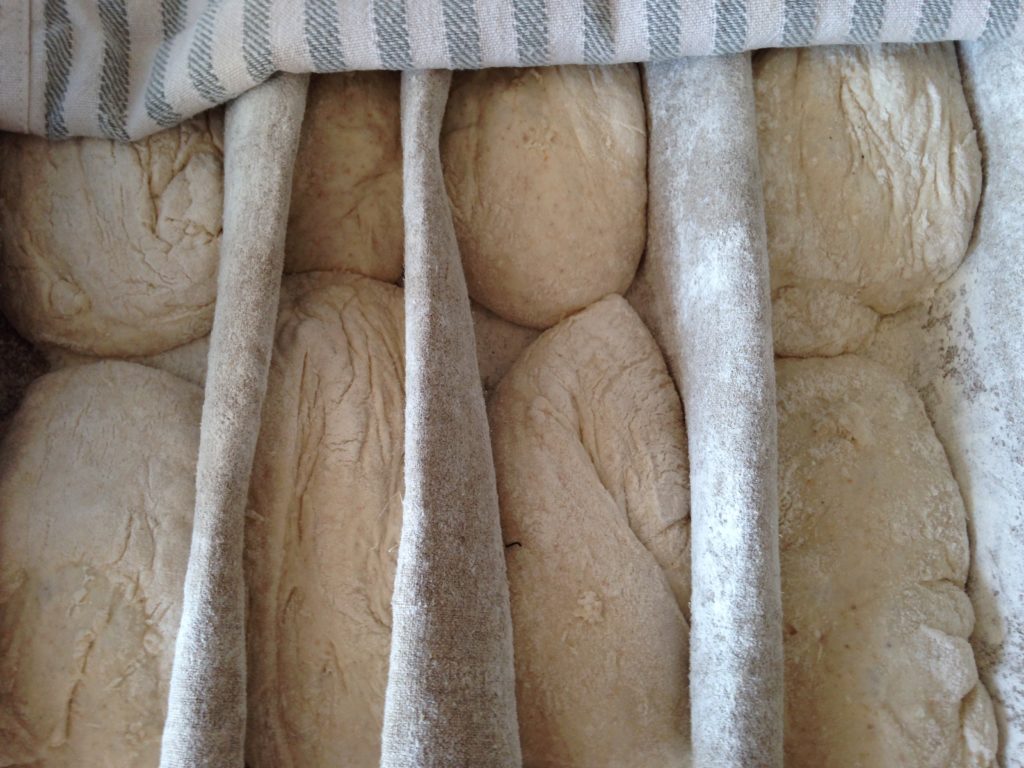
Remove the bowl from the fridge and allow it to warm up to room temperature for a couple of hours. Dust your worktop with flour (Susan recommends a mixture of half and half flour and semolina, but I used plain flour) and gently turn the dough out of the bowl, trying not to degas it at all. Gently stretch the dough out into a rectangle and divide it into 10-12 portions with a well-floured dough cutter. Equally gently, transfer these to a well-floured linen couche, keeping the floury side (the bottom) down and spacing them well so they do not stick to one another. The cut edges of the pieces are sticky, which makes the whole process of cutting and transferring fraught with difficulty, but with a little bit of luck and a lot of dexterity you can get them into the couche for a rest and further rise, under a cover, of about 90-120 minutes. The rolls will be very light.
Preheat the oven, preferably with a baking stone, to 250°C, or as hot as you can get, and prepare also to be able to steam the oven using whichever method you prefer. Gently flip the rolls onto a piece of baking parchment, slide the whole parchment onto the stone and bake with steam for 5 minutes. After five minutes, turn the oven down to 240°C and bake without steam for another 15-20 minutes until the rolls are the colour you like. I prefer them quite pale. Remove from the oven and cool on a wire rack.
I confess, I was very pleasantly surprised by how well these turned out, and so were the Sourdough U alumni. To consolidate my learnings (sic) I made another batch last Friday, pushing the final hydration up to 75%, and they were just as good, if not better. A lot of work, but really worthwhile.
p.s. Thanks to Christy Lichtenstein for pointing out an error in my original quantities for the total water. Now fixed.
Mentions
Jeremy mentioned this Post on fornacalia.com.
Jeremy mentioned this Post on fornacalia.com.